This file describes this repository and tool. v2f is short for "Verilog to Factorio."
![]()
![]()
The purpose of this tool is to allow Factorio players to use Verilog to describe combinator circuits. An additional purpose is to provide a simple API for describing combinators, so players can manually create designs.
- Take a Verilog file and outputs json blueprint strings that can be imported in Factorio 2.0.
- Exposes a Rust and Lua API for players to make designs in code.
This isn't the full flow. Getting Yosys in the browser is very painful, so here is just the backend flow with a GUI slapped on top. You can place combinators and simulate them. This is what it looks like:

Click the following to open a dev container on a github hosted machine:
![]()
Once you click through, you will get a development machine ready to use the tool. Follow the Lua or CLI sections to continue.
The second easiest way is to install VSCode and Docker. Also install the dev-containers extension for VSCode.
- Clone the repo into you preferred working directory.
- Open the repo with VSCode, you should be prompted to re-open in a dev-container. Select yes.
- If not, press ctrl-p and type
>reopenand select "Dev containers: Reopen in container"
- If not, press ctrl-p and type
The Lua API reference is here. It contains all the functions and constructs that let you make a design, simulate it, and realize the physical representation.
Once you have your environment running, you can create a new lua file
and run it by clicking "Run and Debug" > "Current lua file". This will
cause the project to compile, so the first run may take ~30 seconds to start.
Subsequent runs should start instantly.
With the "Run and Debug" set to "Current lua file" you can press F5 to run the currently open lua file.
You only need to set V2F_ROOT to the repo root and update PATH to include $(V2F_ROOT)/target/release.
You can do this automatically by executing source env.bash. This will add the
needed environment variables and alias v2f to the release binary in this repo.
Make sure you execute cargo build --release before you try to use v2f.
For more info use v2f --help.
Typical usage would be to execute a lua script and get a blueprint:
$ v2f -i xyz.lua -o blueprint.jsonNote: Without -o the json will be printed to screen.
If your design is being inefficiently generated, you may want to modify the front-end mapping. Yosys is the rtl and word-level generation.
If you want to mess with the yosys scripts you can invoke v2f on the *rtl_map.json produced from the yosys front-end:
# A normal flow, just used to produce the rtl.ys and mapping.ys scripts
$ v2f -i my_full_flow_script.lua
<output>
$ yosys -s rtl.ys
<output>
$ yosys -s mapping.ys
<output>
$ v2f -i my_full_flow_design_rtl_map.json -o blueprint.json
<output>
There is a desired feature to allow you to tweak the yosys pass, but that isn't available now. To do that, you need to follow the process like above.
An alternative to docker is to just setup the software manually.
To install the dependencies, run
sudo apt install metis lua5.4 liblua5.4-0 liblua5.4-dev pkg-config gperf build-essential bison flex libreadline-dev gawk tcl-dev libffi-dev git graphviz xdot pkg-config python3 libboost-system-dev libboost-python-dev libboost-filesystem-dev zlib1g-devBuild yosys
cd yosys
git submodule update --init --recursive
make config-gcc
make -j$(nproc)
Read the docs to get a better understanding on how to use the APIs. For beginners, the Lua flow is recommended. It uses a more object oriented and type flexible design.
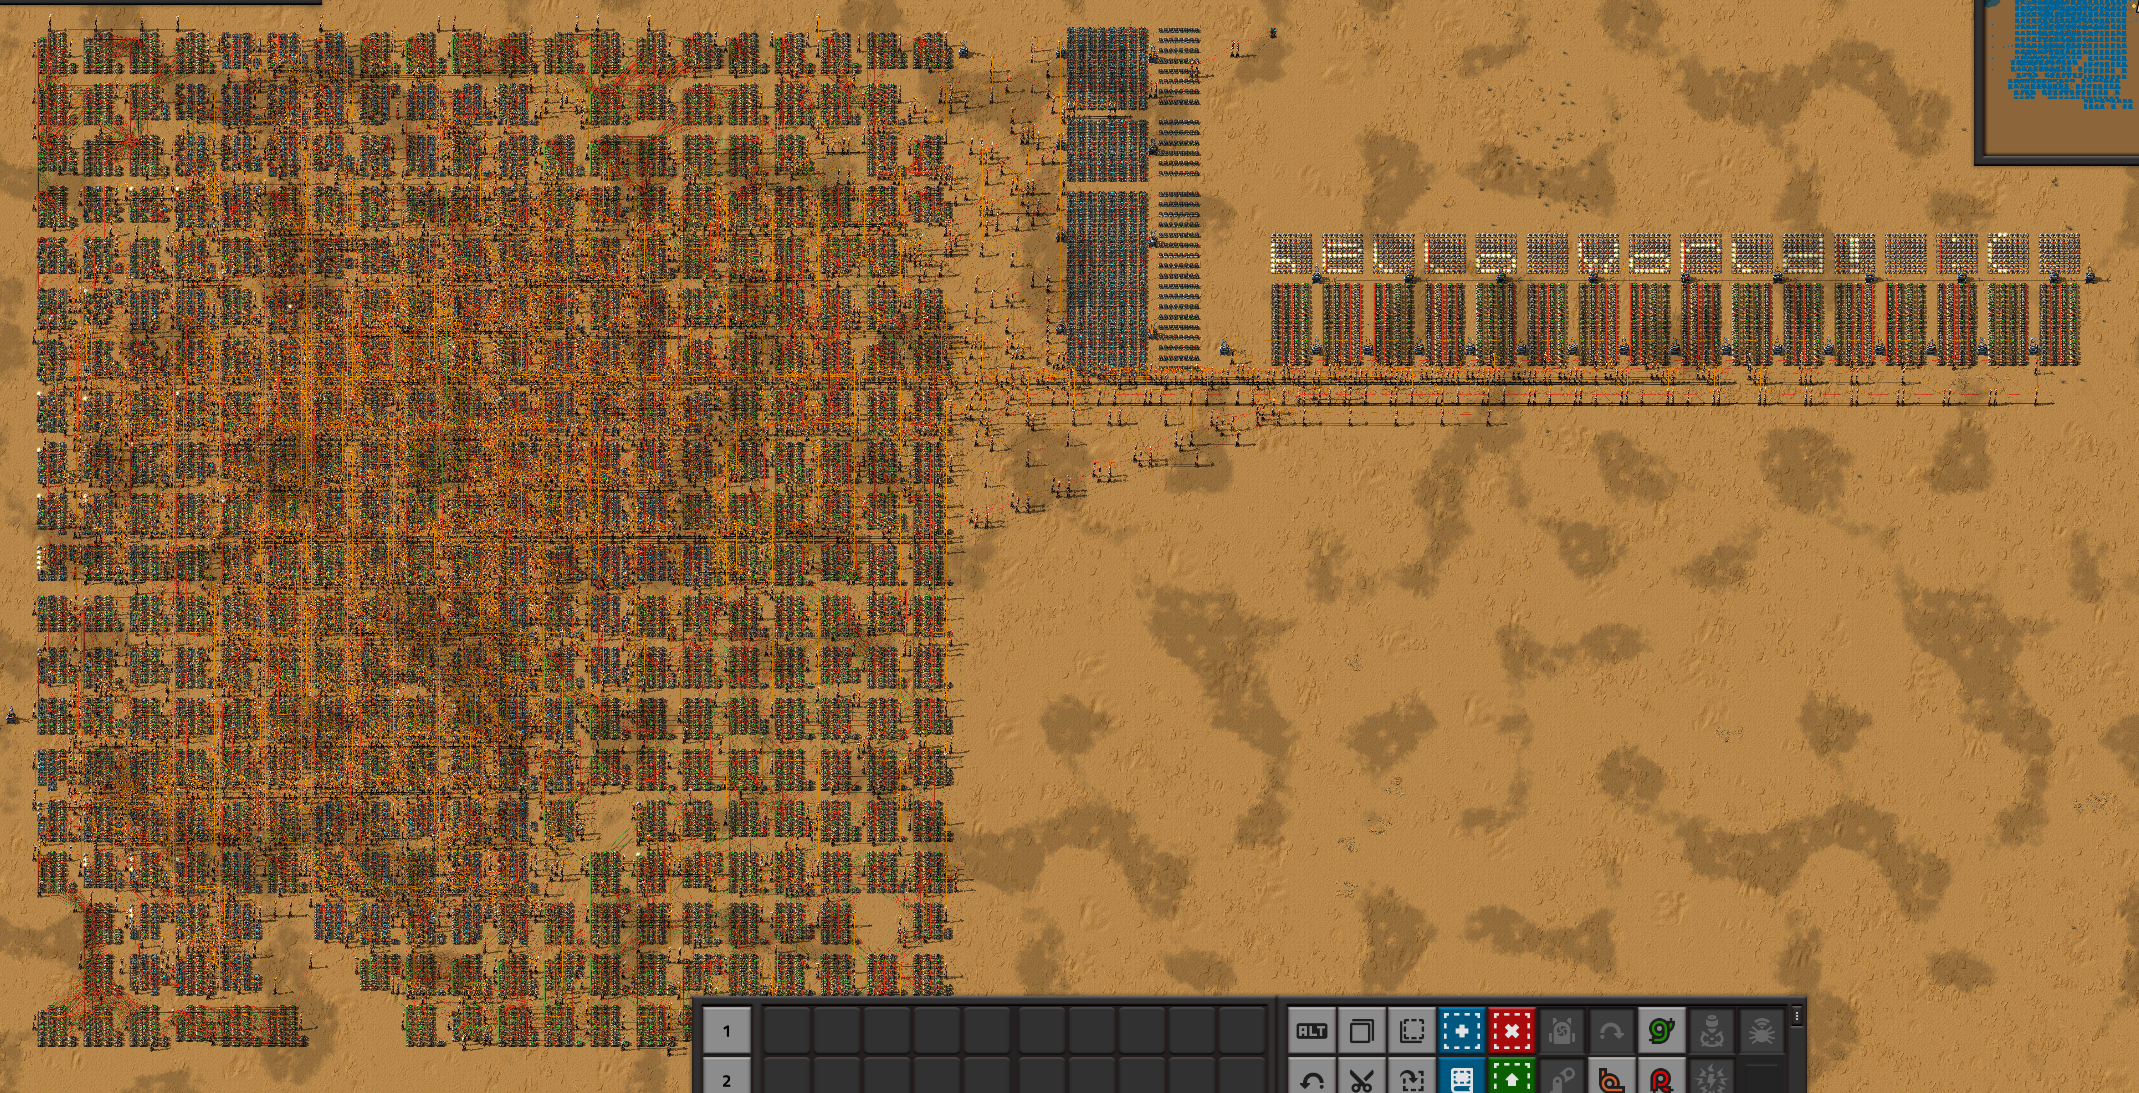
Under /examples/riscv_v2f_optimized/top_v2f I have compiled a fully functional RISC-V processor (RV32IM) along with some example programs that run in the game. The design is originally from Ultraembedded, but I have tweaked the multiplication and division to synthesize a more efficient design.
Once compiled and the clock started, the hello_world program runs and produces the following result. I had a little bug in the ASCII font, so the smiley face is frowning. I have not yet rerun this program to get a better picture.
And a closeup.
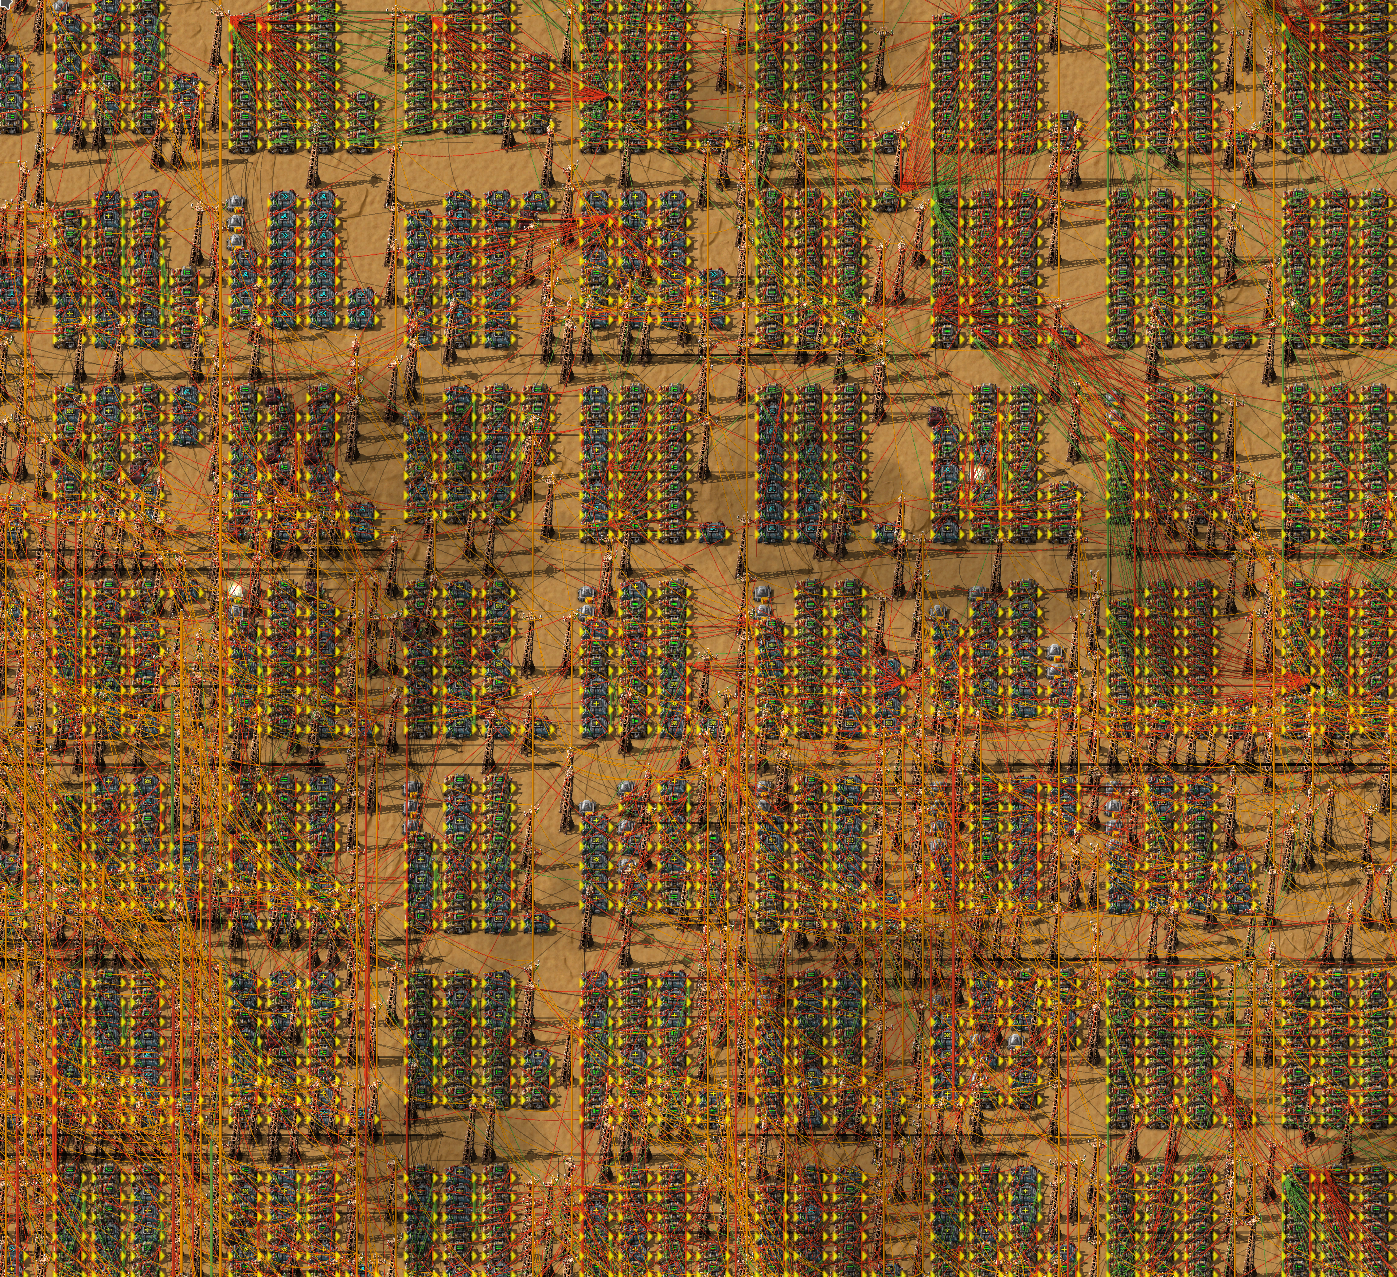
Here is an image of what the core looks like. This is their diagram, and is identical to mine.

Wrapping their core is a fabric that provides the display output and access to a programmable RAM. Here is a diagram of the total system, plus the memory layout I have defined in sys_device.h.

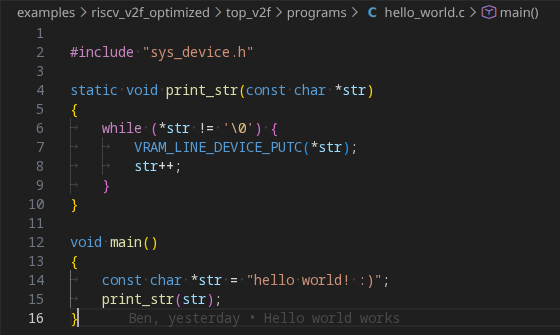
To help facilitate the programming process I setup a cross compiler targeting a freestanding RV32IM. This is simply done with the GNU toolchain. I keep the makefiles and scripts in a subdirectory of the top_v2f mentioned above (link). Here is the hello world implementation.
The program can also simulate your design so you can experiment more quickly in code rather than in game. Here is a simple DFF simulation I do in the tests to verify functionality.

This program supports generating SVGs of your designs so you don't need to import them into factorio to get an idea of what it looks like. Here is an example placement for a 64x32 bit ROM with two ports. I call this physical design rendering. This ROM is in the test_designs folder where you can see the verilog and the yosys script. The physical design rendering can also be annotated with the simulation state; this allows for much better global visibility over the traces at the expense of time visibility. If you open this SVG in a new tab, you can get hover text for each combinator which describes the input and output signals.


In the ALU example, you can see how to use the Lua to generate images. The following image is the physical design rendering for a 32 bit ALU. The Verilog and Lua flow code can be seen in the examples folder.

Here is an output from one of the synthetic tests. It's a single partition thats being placed analytically after initialization.
