I have an attention problem.
A couple of weeks ago, I decided to convert my old laptop into a writerdeck, a dedicated writing device free from the distractions of the modern internet.
Lots of folks build really elaborate offline devices for this, and I'd love to do that... someday. Right now I have no shortage of projects and the point is to get writing, so I used what I had: a six-year-old laptop which still runs great, has plenty of power, but isn't getting much use anymore.
Crucially, this laptop has an excellent keyboard, and a matte screen, which makes it awesome to type on for long stretches, and functional enough in the daylight (I like to sit outside with my dog and write). It's also a System76 Galago Pro (not sponsored), which means it's already Linux friendly and has great support in the kernel.
Setting up a tty instead of a desktop
Now, you could certainly just use a regular desktop OS and keep it offline, although that's easier said than done. I don't think you can fully remove the browsers from a modern Mac or Windows PC. At least not in a supported way.
Of course, I'm a Linux user, and I have any number of options. I could have gone with a simple desktop or window manager and just not installed a browser, but I wanted something that really broke the desktop OS muscle memory and forced me into thinking about my words with intention.
I opted for a tty-based setup, using Debian (Trixie at the time of writing). Console only- no x11 or Wayland, no desktop getting in my way.
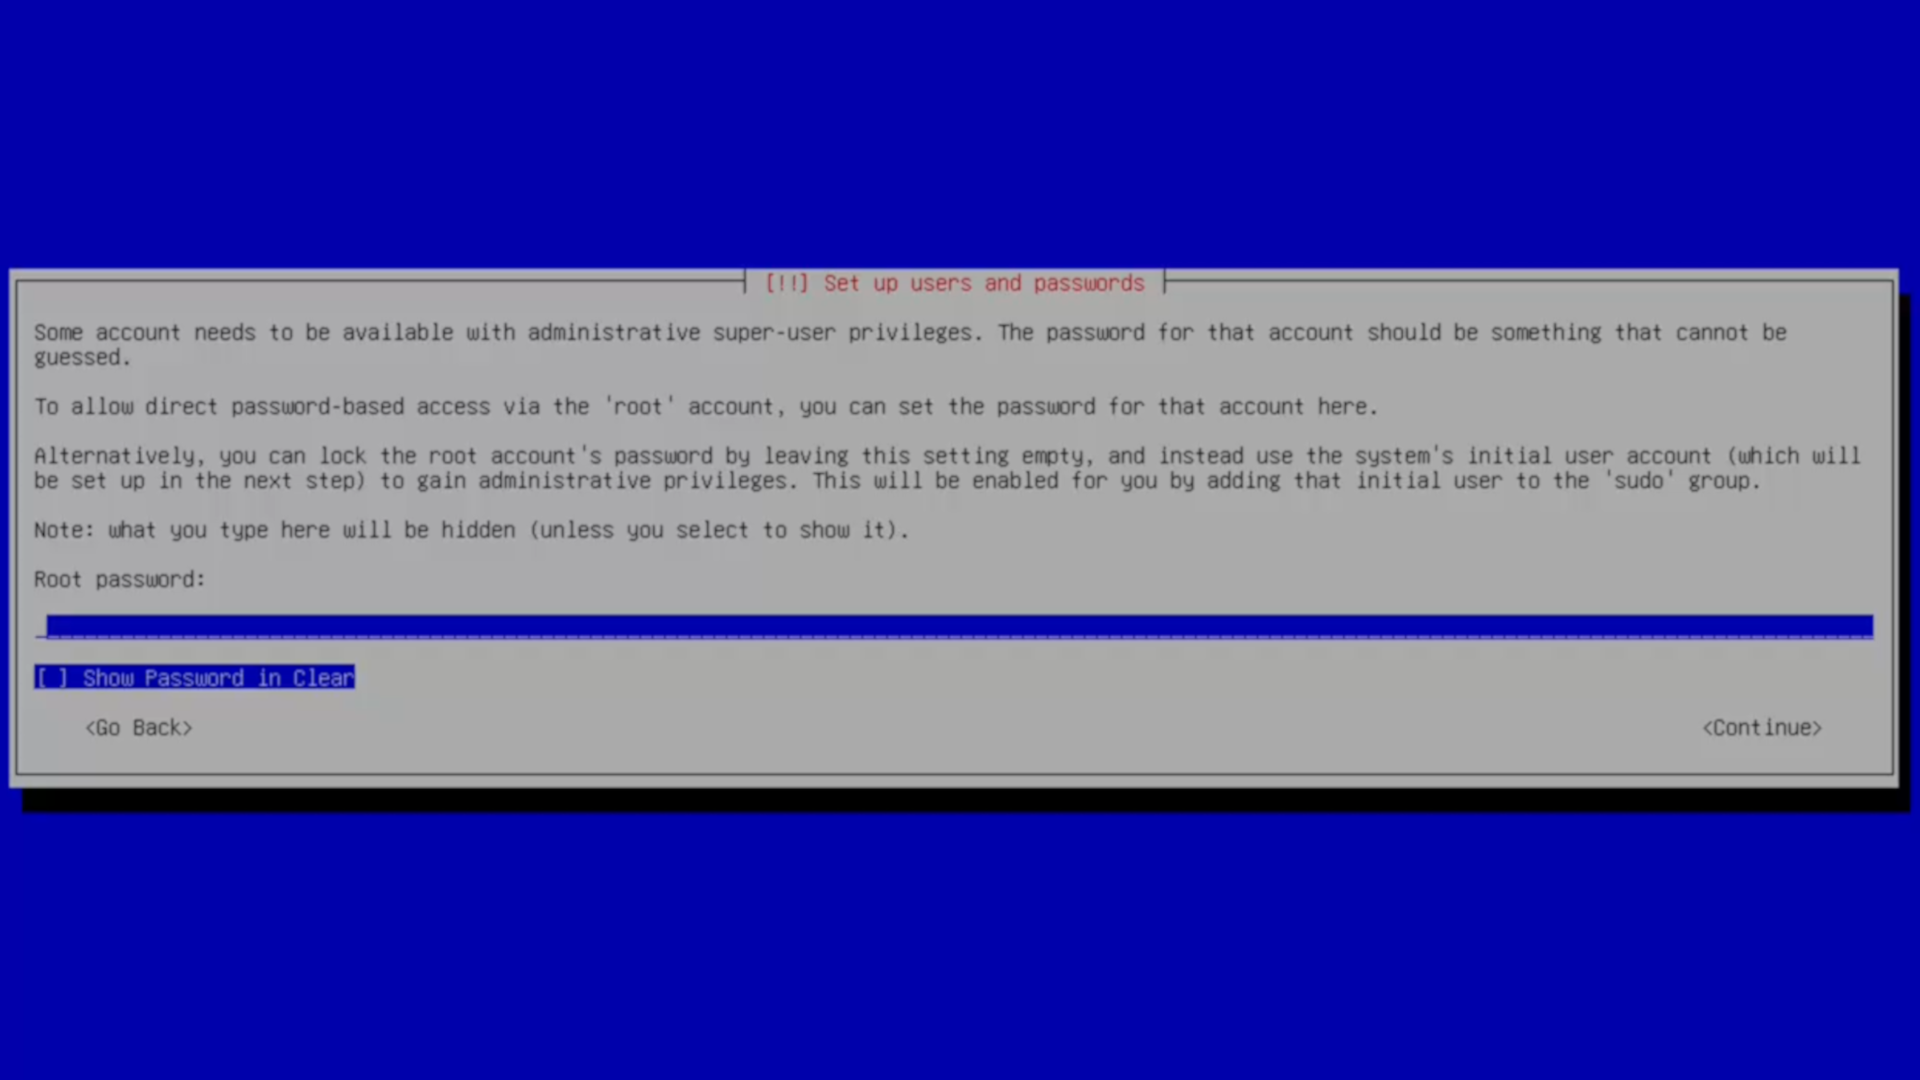
Installing Debian is easy enough. I use the text-based installer mode, and for this writerdeck, I opted to skip full-disk encryption (there's nothing on this device that isn't going to be public anyway).
Folks always tell me they get hung up on things because they don't set themselves up with sudo on Debian. If you're coming from Mint or Ubuntu or virtually any other desktop-oriented distro, this could trip you up. If you want to use sudo for admin tasks, skip adding a root password. That'll disable root and set you up as a sudo user.
On the desktop setup screen, I chose to remove all desktop features, because again, I want this thing to be a minimal device. Just me and the words, no GUI getting in my way.

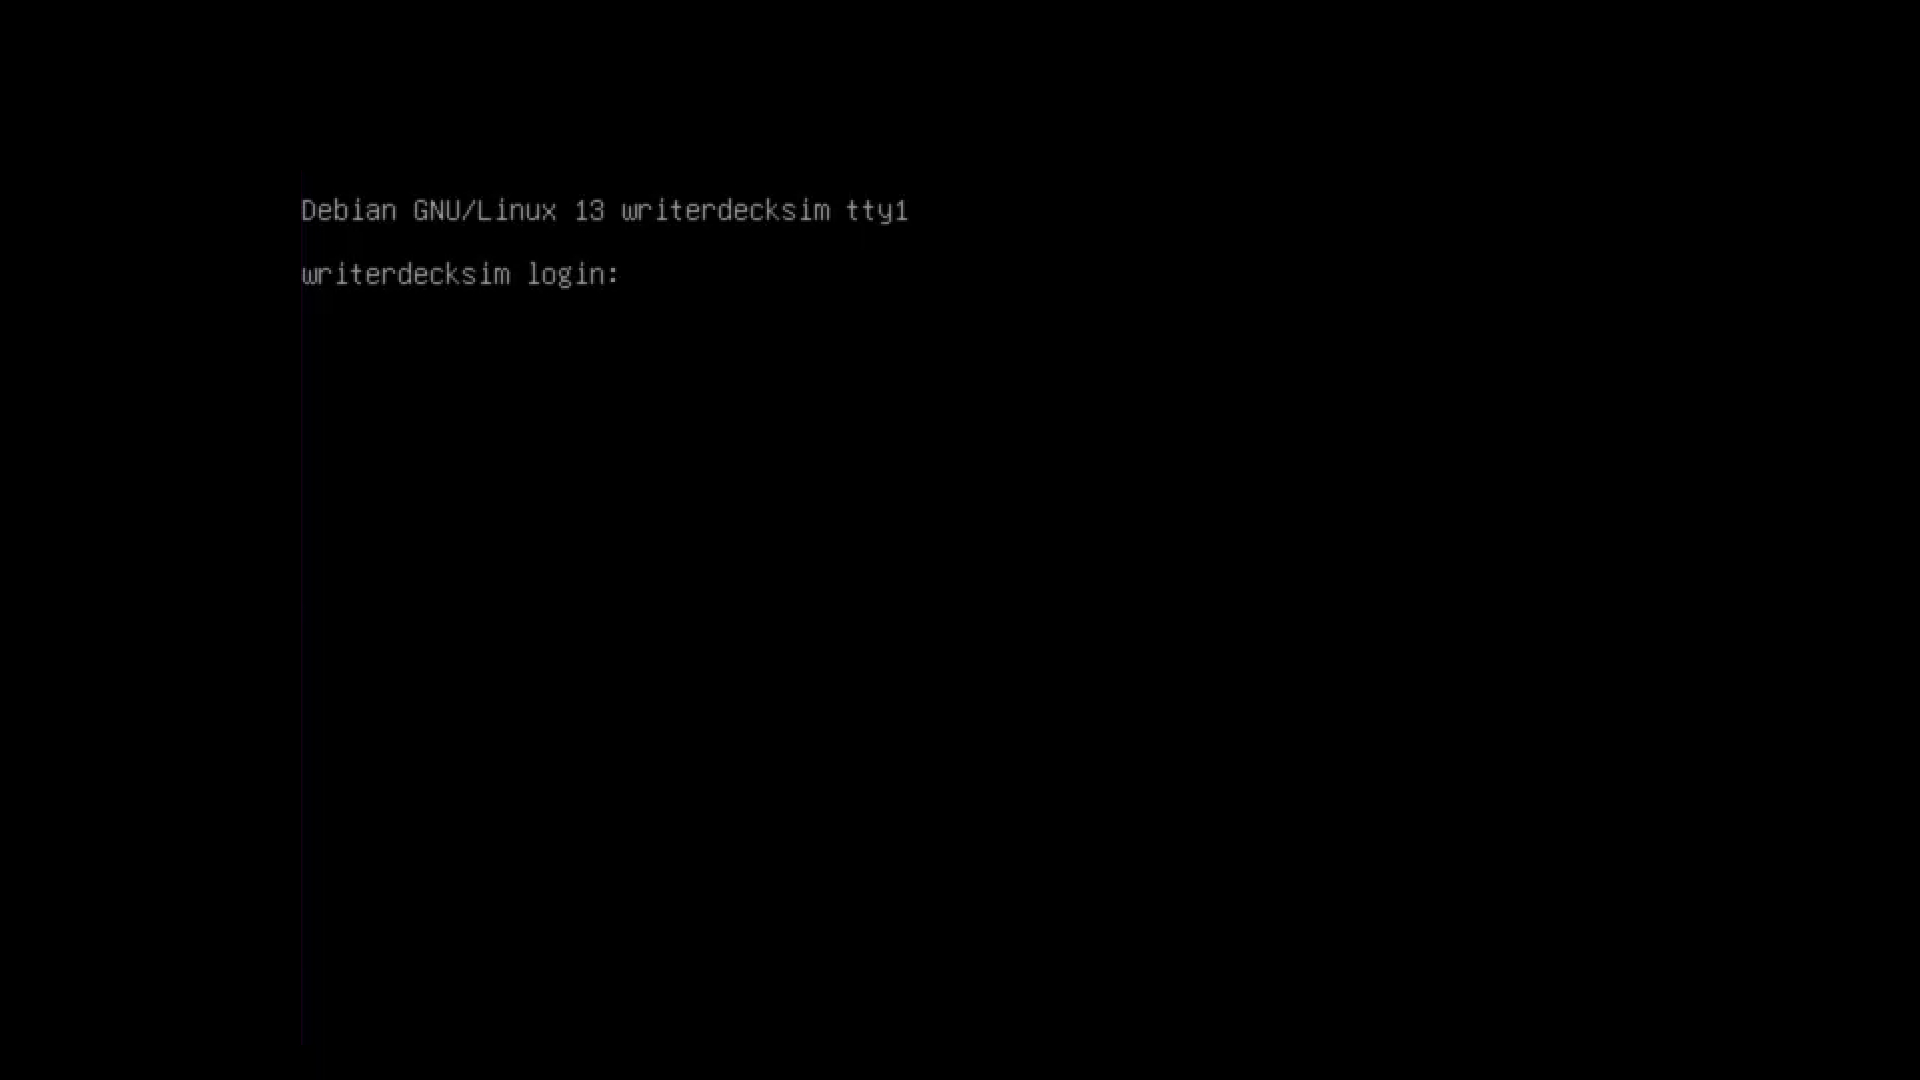
When things wrap up, you'll be greeted with a bland console login. Perfect place to get started.
Installing network-manager
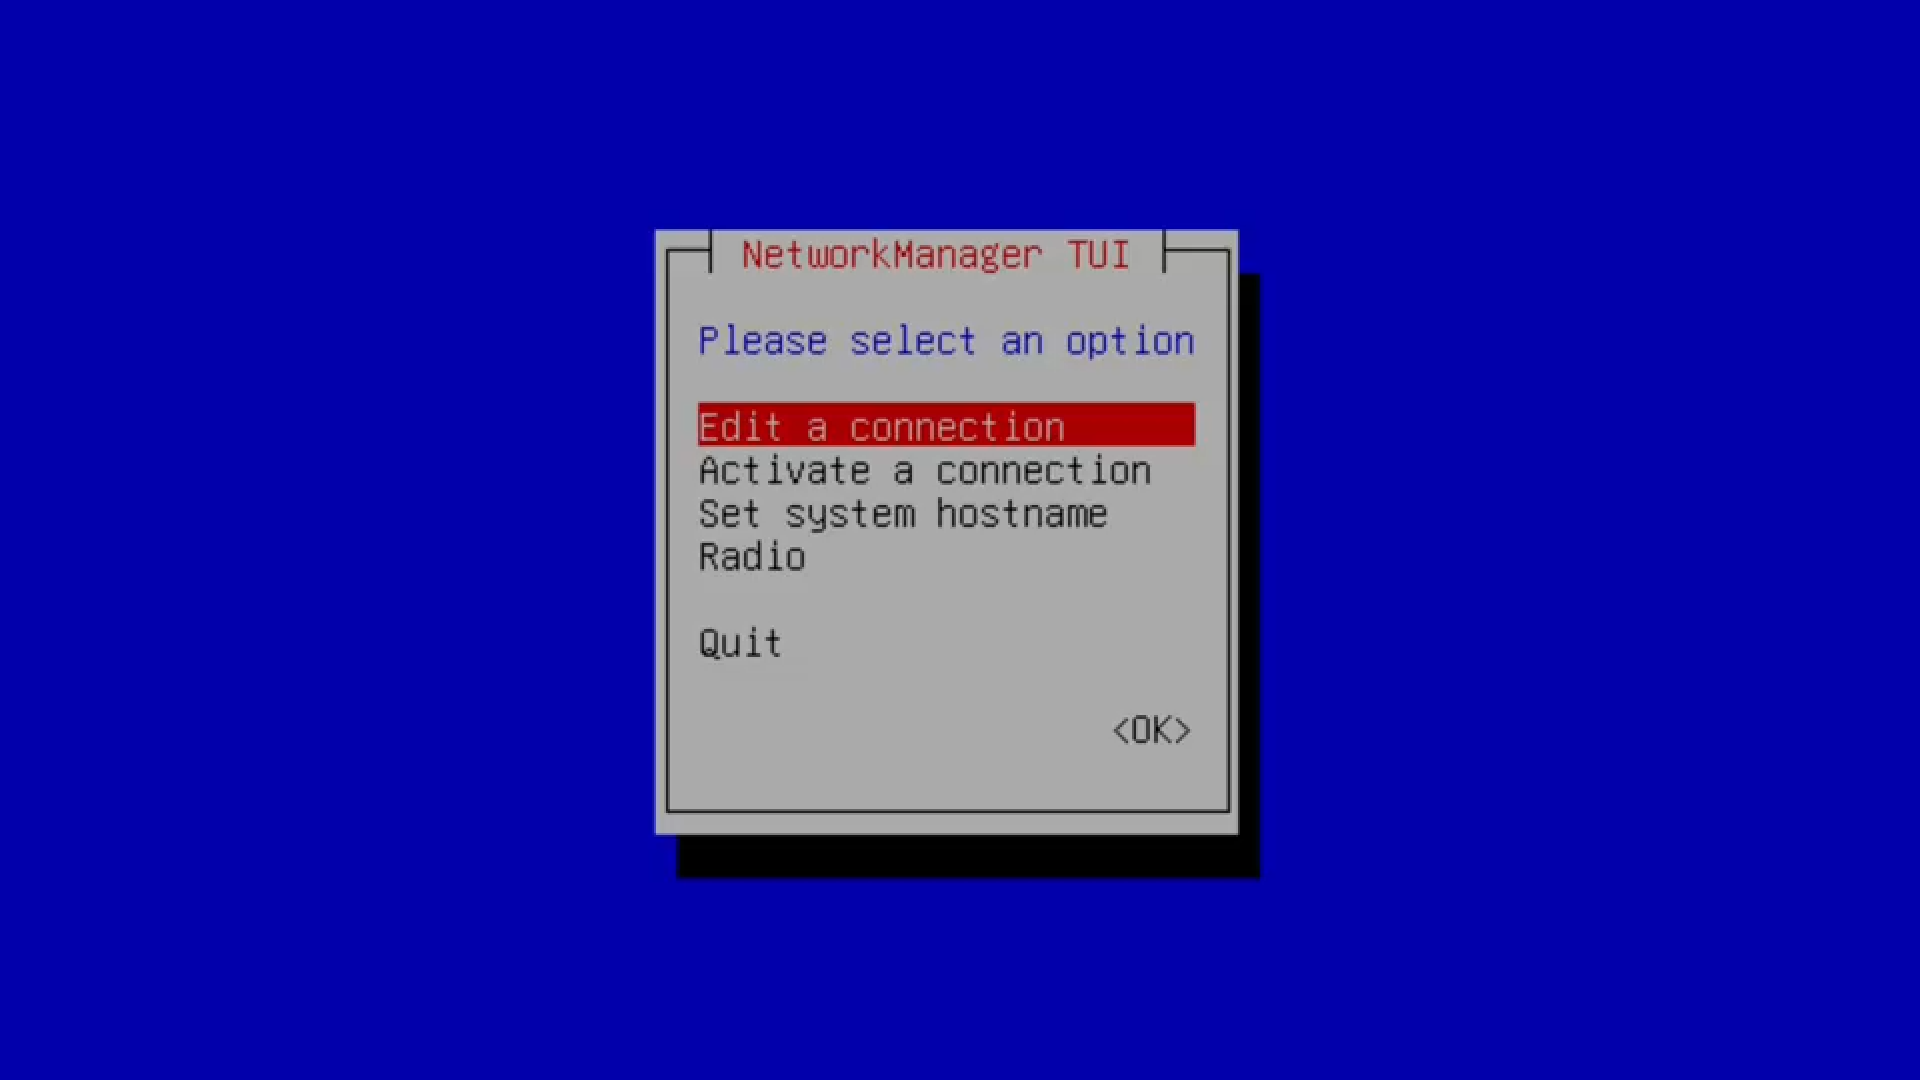
After signing in for the first time and making sure I was up-to-date with a quick sudo apt update and a sudo apt upgrade, I chose to replace the regular network stack with the network-manager package. Mainly to get access to the very good curses tool nm-tui for connecting to networks.
nm-tui is a thousand times easier than editing config files for setting up network devices. And while I will be working mostly offline with this device when I'm away from home, I do appreciate the ability to connect it to the network to back up files should the need arise.
After installing network-manager with sudo apt install network-manager, you can use nm-tui to scan for available Wi-Fi networks and get hooked up. Depending on your hardware, you might also have WAN access here. Pretty cool.
Installing neovim and kmscon
I couldn't wait any longer, I installed neovim as soon as I could with sudo apt install neovim. I didn't want to edit with nano. Nothing personal, I'm just a vim user all the way now.
Normally I use traditional vim but I opted for neovim as I'm trying to get to know it a bit more.
Then, I installed kmscon, which for Debian Trixie needed to be added from backports.
First, I updated my Debian source list by editing the file at /etc/apt/sources.list to add the following two lines:
deb http://deb.debian.org/debian/ trixie-backports main contrib non-free non-free-firmware
deb-src http://deb.debian.org/debian/ trixie-backports main contrib non-free non-free-firmware
A quick sudo apt update and then I can simply run sudo apt install -t trixie-backports kmscon. This will install the kmscon package from backports, as well as its dependencies, and set it to automatically start on boot. Next reboot, you'll see the familiar tty, but now it's scalable with ctrl-plus and ctrl-minus, like most modern web browsers.
From here, I have a totally functional writerdeck. I could be done here and be reasonably satisfied with an offline, pleasant writing experience. But I wanted a few more nicities which I've grown accustomed to.
tmux for multiplexing and a pretty status bar
Next, I installed tmux for basic terminal tiling and a pretty status bar. This is packaged for Debian (and virtually everyone else), and is installed with sudo apt install tmux.
I also installed acpi for battery details, and light to control the screen backlight. You can install these at the same time with sudo apt install acpi light. I set these up in my .tmux.conf file, which is kept in your home directory. Here's how I used them.
ACPI for battery readouts
Once the acpi package is installed, you should be able to see your battery with acpi -b (assuming your laptop has a battery which is detected with acpi, which has worked so far on every laptop I've tried in my house).
So, to get the specific percentage and nothing more, you can pipe acpi -b into grep like so:
acpi -b | grep -m1 -o -P '.{0,2}%'
This grep is a bit hard to understand, so let's break it down:
-m1says stop reading the file after one line. I did this because some laptops I've used have multiple batteries, and I only care about the primary battery. You can probably leave this out ifacpi -bonly returns a single line.-oprints only the matched parts of the line. I don't want a large printout with the remaining time. You might!-Pinterprets the pattern as a Perl-compatible regular expression. Then'.{0,2}%'gets us the percent sign and the two numbers preceding the percent. (This won't show "100%" but I can live with that, because this laptop doesn't get there anymore.)
I wanted to replace the default details in the tmux status bar with a battery readout, so I do so with the following in my .tmux.conf:
# give me a battery readout instead of the time
set-window-option -g status-right "#(acpi -b | grep -m1 -o -P '.{0,2}%')"
Light for brightness
Next, we can use the very simple light command we installed earlier to control the brightness. On my laptop, F8 and F9 have brightness indicators printed on the keys, so it's a perfect fit.
light -U 10 decreases the brightness by ten percent, and light -A 10 increases it.
So, to bind F8 and F9 to decrease/increase brightness control, I simply add this to my .tmux.conf:
# keybinding for brightness
bind -n F8 run-shell 'light -U 10' # decrease
bind -n F9 run-shell 'light -A 10' # increase
Now, next time I start tmux, I'll have brightness controls. Very neat!
Additional tmux customization
Lastly, I like the status line for tmux at the top of the screen, because neovim puts a status line at the bottom of the screen. That's achieved by adding set -g status-position top to the .tmux.conf file.
Also, I have a habit of specifying the color. I think it's green by default but I set it anyway (I might change it in the future, who knows) with set -g status-style bg=green.
So, my final tmux.conf looks like this:
# bar position and color
set -g status-position top
set -g status-style bg=green

# keybinding for brightness
bind -n F8 run-shell 'light -U 10' # decrease
bind -n F9 run-shell 'light -A 10' # increase

# give me a battery readout instead of the time
set-window-option -g status-right "#(acpi -b | grep -m1 -o -P '.{0,2}%')"
This isn't a tmux lesson, but by default, to do a split, you use Ctrl-B to break out of regular mode and into the tmux command mode, and then the % key to split vertically, or " to split horizontally. Ctrl-B, then an arrow will move your focus between panes.
Someday, I'll do a formal tmux lesson. Moving on!
neovim and vimwiki
I know a lot of folks won't want to use neovim or vim, opting instead for emacs or helix or micro or nano or blammo or something else I didn't mention (but someone's about to).
That's great. I'm happy for you. I'm a vim user though, so that's what I set up.
neovim includes some reasonably great colorschemes which you can try out with the :colorscheme option. I chose blue, which fit my retro vibe just fine, but you could pick anything you want or even write one yourself from scratch.
I added that to my .config/nvim/init.vim file with colorscheme blue, and I also added set linebreak so that way words would wrap to the next line (I don't normally do this on my desktop but this thing's one job is writing).
Lastly, I set up vimwiki, which I already covered in a separate %blog post%. The only thing that's changed is instead of installing vimwiki with a plugin, on Trixie it's packaged, so you can install it with sudo apt install vim-vimwiki.
Installing Syncthing
I set up syncthing according to the Syncthing docs, which are pretty good and I won't repeat those too much here.
I set up syncthing to connect my writerdeck's vimwiki folder to my server's writing folder, which is a subdirectory inside another, more private vimwiki setup. I do it this way so that if there's sensitive notes in my desktop vimwiki, they don't sync to the writerdeck. If I had encryption on this device, I wouldn't mind that though, and I might set up password-based LUKS encryption just to gain access to my vimwiki diary on the writerdeck.
The one place where I strayed from a stock syncthing setup is that because I don't have a desktop with a traditional browser, I had to set my syncthing web GUI to be listening on all addresses instead of just 127.0.0.1. I don't love this approach, but again, this thing has nothing private on it. A better way would be to set up a SOCKS proxy and connect that way, but that's a topic for a future post.
Setting it up to autologin
The last thing I did to make this writerdeck my own was to set up automatic login.
I want to be able to open this up and start writing quickly- autologin is a simple way to get there.
Autologin with kmscon
Because I installed kmscon, this is pretty easy, just update the (gasp) systemd service with sudo systemctl edit [email protected].
Then, I just added the following:
[Service]
ExecStart=
ExecStart=/usr/bin/kmscon --login -- /bin/login -f my_username_goes_here
This tells kmscon to start what comes after the -- after --login. In my case, that's the default /bin/login program with the parameter -f and then my username.
Launching tmux on boot
After kmscon signs me in, I want tmux to automatically launch into vimwiki. But only if I'm on the main tty (the default virtual terminal).
I can do this easily by adding a small bash if/then to my .bashrc:
# Launch tmux if we aren't already running tmux and we're in the default tty
if [ -z "${TMUX}" ] && [ $(tty) == "/dev/pts/0" ]; then
        exec tmux new-session -d 'vim -c VimwikiIndex' \; attach
fi
This works by checking to make sure we're not in tmux already (which would be recursive and bad), and it also makes sure we're in the first virtual tty. If those two conditions are met, then it launches a new tmux session with the command vim -c VimwikiIndex (which tells vim to connect to the Vimwiki index). It then attaches to that session.
After using it for a few projects, I love it.
I've had this thing going for a week or so now, and I've used it to write this blog post, the script for the companion video, and another future script I'm working up right now. And it's awesome.
I may extend this idea with a spell checker, or perhaps set up a "writerdeck terminal" in my workspace using an old 486, to really bring myself back to a more intentional experience (with an even better keyboard!).
The point is to write more, and to be less distracted doing so. I have always struggled immensely with the fact that the browser nags at me. I get notifications about apps needing my attention. My music player tells me the next song we're playing. It's all very convenient, and very distracting.
I'm trying to be more intentional with my tech choices. I want devices that do one thing really well, and that when I'm done with that one thing, I can put them away, and do something else. I don't want everything to follow me around everywhere.
If that's you, maybe you would benefit from a writerdeck. For me, it's been great. :)