It is a tool written by marcan under the AsahiLinux project. macvdmtool lets you put any Apple Silicon or Intel Macs with the T2 chip (2018 and forward) in DFU mode with an easy terminal command instead of requiring awkward keyboard gymnastics.
Note: macvdmtool requires that the host machine is Apple Silicon based, Intel macs do not seem to support this tool as a host.
- You need 2 Macs to utilize
macvdmtool.- One Mac will act as the “host Mac”. This machine needs to be fully functional.
- The second “target Mac” does not need to be functional as long as it powers on and boots to either a question mark or recovery mode.
On the host Mac, Install Xcode and then run this in terminal to install Xcode command-line tools:
Check that it installed properly:
Install Apple Configurator 2 from the Mac App Store.
Clone macvdmtool
git clone https://github.com/AsahiLinux/macvdmtool.gitChange into the macvdmtool directory and compile the tool
Copy macvdmtool to path.
sudo cp macvdmtool /usr/local/binRun below command to see if its installed and added to path
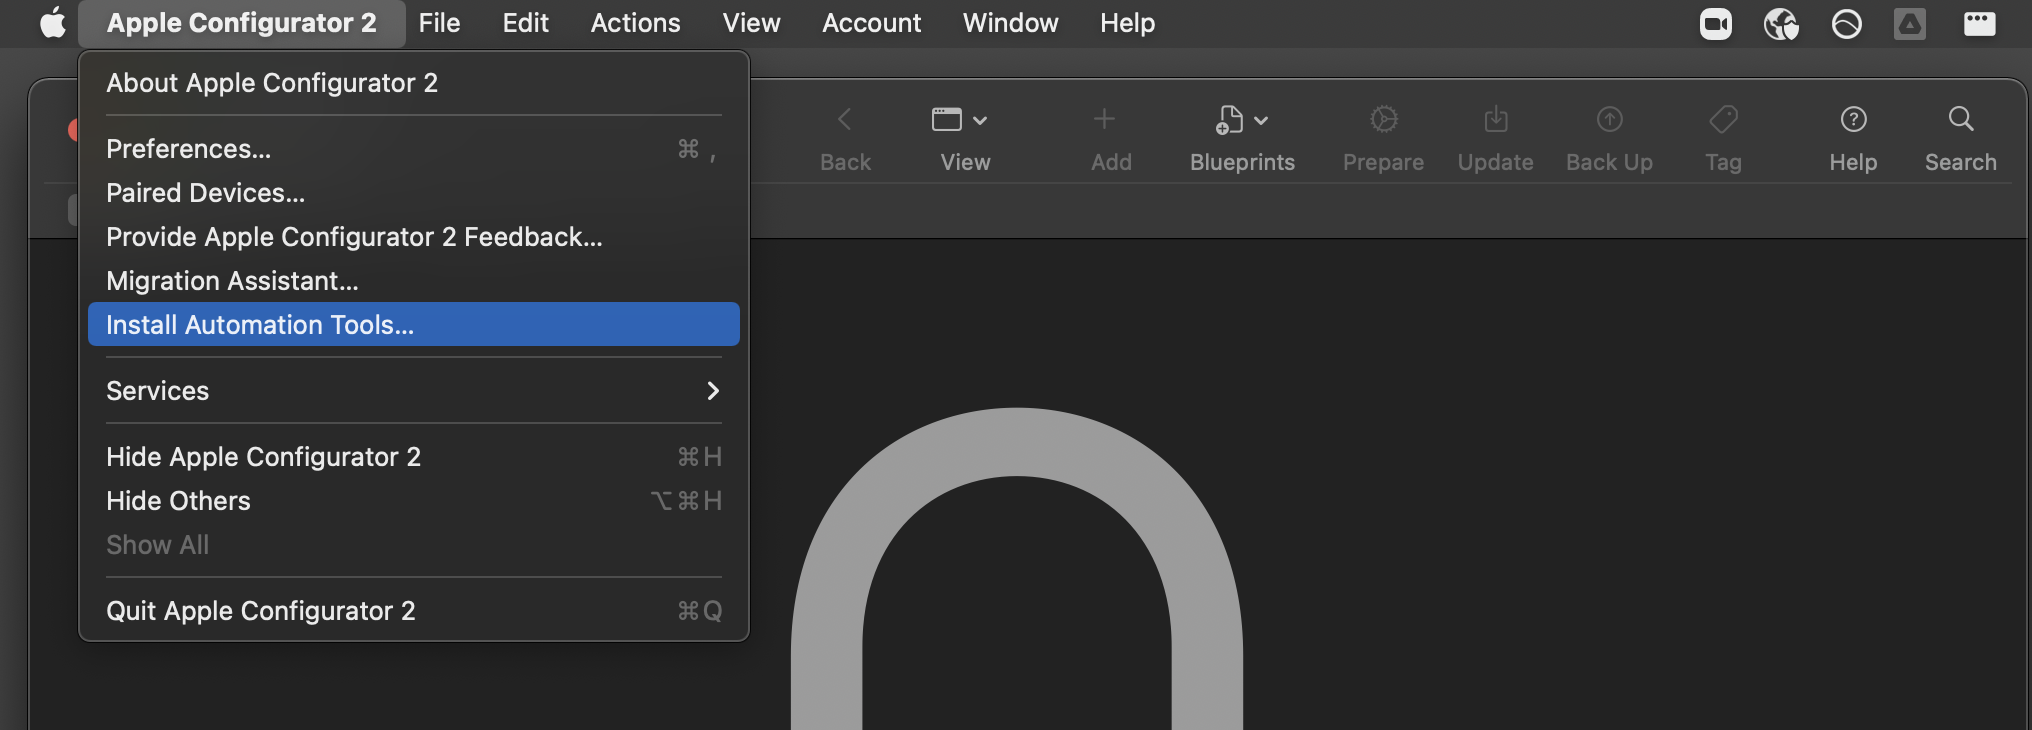
Launch Apple Configurator 2 and install the “Automation Tools”.


Connect the host Mac and target Mac together via an official Apple USB-C charging cable or a TB3/TB4 cable. The cable must be plugged into the DFU port on both ends and support data transfer.
On Apple Silicon machines, the DFU port is closest to the screen on the left side.
On Intel machines, the DFU port is closest to the trackpad on the left side.
Put the target Mac in DFU mode.
Above command should return below:
 Mac type: J313AP
 Looking for HPM devices...
 Found: IOService:/AppleARMPE/arm-io@10F00000/AppleT810xIO/i2c0@35010000/AppleS5L8940XI2CController/hpmBusManager@6B/AppleHPMBusController/hpm0/AppleHPMARM
 Connection: Source
 Status: APP
 Unlocking... OK
 Entering DBMa mode... Status: DBMa
 Rebooting target into DFU mode... OK
 Exiting DBMa mode... OK
Alternatively you can use Apple Configurator 2 or Finder to restore/revive your Mac.
Note: This method with
cfgutilonly works if the target Mac is Apple Silicon.
Confirm the device is in DFU mode by launching Apple Configurator 2. It should look like this. (If it does not appear, try unplugging and plugging back in the cable between the host and target)

Grab the IPSW you want to restore from Mr. Macintosh’s database.
Use
cfgutilto restore that IPSW.cfgutil restore -I ~/Downloads/UniversalMac_12.1_21C5021h_Restore.ipswShould result in something like this:
objc[53015]: Class AMSupportURLConnectionDelegate is implemented in both /usr/lib/libauthinstall.dylib (0x1da64c9e8) and /Library/Apple/System/Library/PrivateFrameworks/MobileDevice.framework/Versions/A/MobileDevice (0x104d782c8). One of the two will be used. Which one is undefined.
objc[53015]: Class AMSupportURLSession is implemented in both /usr/lib/libauthinstall.dylib (0x1da64ca38) and /Library/Apple/System/Library/PrivateFrameworks/MobileDevice.framework/Versions/A/MobileDevice (0x104d78318). One of the two will be used. Which one is undefined.
cfgutil: restore: target OS is 12.1

Waiting for the device [1/2] [*******************************************]  100%
Step 2 of 2: Installing System [2/2] [**********************************>]  99%
At this point you should see an Apple logo and a loading bar on the target Mac.
After a few minutes, the Mac will reboot and launch the standard Setup Assistant experience.
That’s it! Enjoy.
- Once Apple adds 12.X IPSWs to the com_apple_macOSIPSW.xml feed, I could write a script to download the latest IPSW and then execute macvdmtool and cfgutil.
- Autopkg recipe to download latest IPSW and package it with Munki. This could be useful to distribute IPSWs to technicians.
File an issue or PR (pull request) against my blog at https://github.com/discentem/blog-content or reach out via MacAdmins Slack.
See Mr. Macintosh’s excellent blog post on DFU restores for more information.