If you live in Europe the northern hemisphere, you are probably suffering through a heat wave right now. Let's do something to bring back some chill, using iroh.
The previous ESP32 examples demonstrated echo protocols. But typically ESP32s are used for more than just echoing data; you use an ESP32 as a cheap means to read sensors and drive actuators.
So we are going to write a very simple end-to-end example using an ESP32 to measure temperature and control a fan. Unlike most IoT devices, there won't be any cloud component. Just a tiny website that you can use from anywhere in the world using any browser that supports WebAssembly.
As the base, we are going to use an ESP32-WROVER devkit with 4 MiB of PSRAM, so we have all of iroh's networking capabilities available, including a relay connection, and remote control it from anywhere in the world. You can also use a M5StickC-Plus2, but you will have to adapt the GPIO pins.
If you have another devkit such as an ESP32-S3 with PSRAM, you should be able to run the examples with small config tweaks.
If all you have is an ESP32 without PSRAM, you can still use iroh. But you need to disable the relay connection and tweak QUIC buffers so we don't run out of memory. Use an appropriate example from iroh-esp32-examples as base.
As the first step, we are going to copy over an echo example from iroh-esp32-examples. We will use server-esp32-psram for the ESP32 binary.
For the client side we just use client, it runs on a desktop PC and is as vanilla as it gets.
This is going to be a smart fan example, so we just rename server-esp32-psram to server-smart-fan, and client to smart-fan-cli.
Note that we need different toolchains and want to keep the option to use a patch of iroh for the ESP32 variant, so the two directories are completely separate Rust projects. We do not use a workspace.
Let's try it out once before we do modifications. cargo run on the server project will search for an ESP32 connected via USB and flash it. So we just connect our ESP32 with a USB-C cable.
The initial release build will take some time, since we are compiling not just iroh, but also the operating system to the xtensa architecture. Subsequent builds will be faster, since the compilation results are cached in the .embuild directory.
Flashing itself will never be really fast, because the data rate to the chip is very limited. We can make it go a bit faster by setting the ESPFLASH_BAUD environment variable. My chip supports 230400 baud, but YMMV. If it doesn't work just run without the environment variable set, then it will use safe defaults.
We need to tell the ESP32 how to connect to WLAN. In the example we just use another environment variable WIFI_CONFIG=SSID:PASSWORD. Set this to your local WLAN.
You can do a single export WIFI_CONFIG=SSID:PASSWORD so you don't have to pass it every single time.
ESPFLASH_BAUD=230400 WIFI_CONFIG=myap:mypass cargo run --release
❯ cargo run --release
    Finished `release` profile [optimized] target(s) in 0.56s
     Running `espflash flash --monitor target/xtensa-esp32-espidf/release/esp32-psram`
[2026-07-01T07:14:23Z INFO ] 🚀 A new version of espflash is available: v4.4.0
[2026-07-01T07:14:23Z INFO ] Serial port: '/dev/cu.usbserial-210'
[2026-07-01T07:14:23Z INFO ] Connecting...
[2026-07-01T07:14:30Z INFO ] Using flash stub
Chip type:         esp32 (revision v3.1)
Crystal frequency: 40 MHz
Flash size:        4MB
Features:          WiFi, BT, Dual Core, 240MHz, VRef calibration in efuse, Coding Scheme None
MAC address:       00:70:07:19:c8:4c
App/part. size:    3,953,296/4,128,768 bytes, 95.75%
[00:00:00] [========================================]      17/17      0x1000   Skipped! (checksum matches)                                                                                                 [00:00:00] [========================================]       1/1       0x8000   Skipped! (checksum matches)                                                                                                 [00:04:11] [========================================]    2295/2295    0x10000  Verifying... OK!                                                                                                            [2026-07-01T07:18:43Z INFO ] Flashing has completed!
As you can see from the flash output, we are pretty close to the limit of the flash size.
App/part. size: 3,953,296/4,128,768 bytes, 95.75%
You might think that every single added line of code will get you over the limit, but that is not the case. Additional pure Rust dependencies such as irpc add very little size.
What we should have now is a simple echo server running on the ESP32.
Endpoint Id
First of all, how do we assign the endpoint id? We want the ability to assign an endpoint id, but even if we don't do so we want the endpoint id to be stable after reboots. So the ESP32 should not generate a random one on each startup.
Instead we generate and store the secret key in non volatile memory on first startup and reuse it on subsequent startups. Non volatile memory is not overwritten by flashing, so we will get the same endpoint id for the same device unless we explicitly delete non volatile memory.
Startup
On startup the device will try to connect to WiFi using the given credentials. If that doesn't work it will hang. This happens before any iroh endpoint setup.
For a real product you would want two alternative WiFi configs and some recovery option, but we are going to skip this for the example.
Once the endpoint on the ESP32 starts up, we get very familiar output:
I (7413) server_esp32_psram: Iroh endpoint bound
I (7413) server_esp32_psram:   Listening on: 192.168.0.186:51831
I (7413) server_esp32_psram:   Endpoint ID: 03b43add965a3eaa2d20d3b60dcb1aa2fa8fdd36cdc1544511af11c26f45fd4b
I (7423) server_esp32_psram:   Short ticket: endpointaab3iow5sznd5krnedj3mdoldkrpvd65g3g4cvcfcgxrdqtpix6uwaa
I (7433) server_esp32_psram:   Long ticket:  endpointaab3iow5sznd5krnedj3mdoldkrpvd65g3g4cvcfcgxrdqtpix6uwaibadakqaf266kag
I (7443) server_esp32_psram: Router started, accepting connections
The device has been assigned a local IP address 192.168.0.186:51831 by the DHCP of the router. It prints both a long and short ticket, but for now is only reachable locally using the long ticket that contains the IP address.
Next it tries figuring out its location in the world using QAD.
W (7473) iroh::net_report: QADv4; relay_url=https://aps1-1.relay.n0.iroh.link./
W (7473) iroh::net_report: QADv4; relay_url=https://euc1-1.relay.n0.iroh.link./
W (7483) iroh::net_report: QADv4; relay_url=https://use1-1.relay.n0.iroh.link./
W (7493) iroh::net_report: QADv4; relay_url=https://usw1-1.relay.n0.iroh.link./
Assuming you are connected to the internet, after a short time it will figure out which relay is closest and set that as its home relay.
I (8963) iroh::socket::transports::relay::actor: home is now relay https://euc1-1.relay.n0.iroh.link./, was None
At this point it is reachable from anywhere in the world using the short ticket that contains just the endpoint id.
Connecting
So now let's try it out using the client binary.
❯ cargo run endpointaab3iow5sznd5krnedj3mdoldkrpvd65g3g4cvcfcgxrdqtpix6uwaa
...
Discovery: relay=on, mdns=on
Connecting to ESP32...
Connected!
Sent: Hello from iroh!
Received: Hello from iroh!
Echo OK — crates.io iroh  ESP32!
Locally you can use the long ticket and bypass the relay, but as soon as the endpoint has published its home relay it should be reachable globally.
The client has an option to disable relay. If you do that you will only be able to use the long ticket.
It also has options for mDNS, but we are not using mDNS for this project.
Shutdown
You might think that stopping the cargo run --release will stop the binary. But this is not the case. It just stops the connection to the device. The endpoint will happily continue to run as long as it has power.
You can even disconnect it and plug it into a separate USB-C power supply, and it will boot up again with the same endpoint id. This is the whole point. The ESP32 is a fully self-contained embedded computer. It just needs power.
If you really want to shut it down, unplug it or delete the flash using espflash erase-flash.
Now that we have confirmed that the example works, we can start making it actually do something.
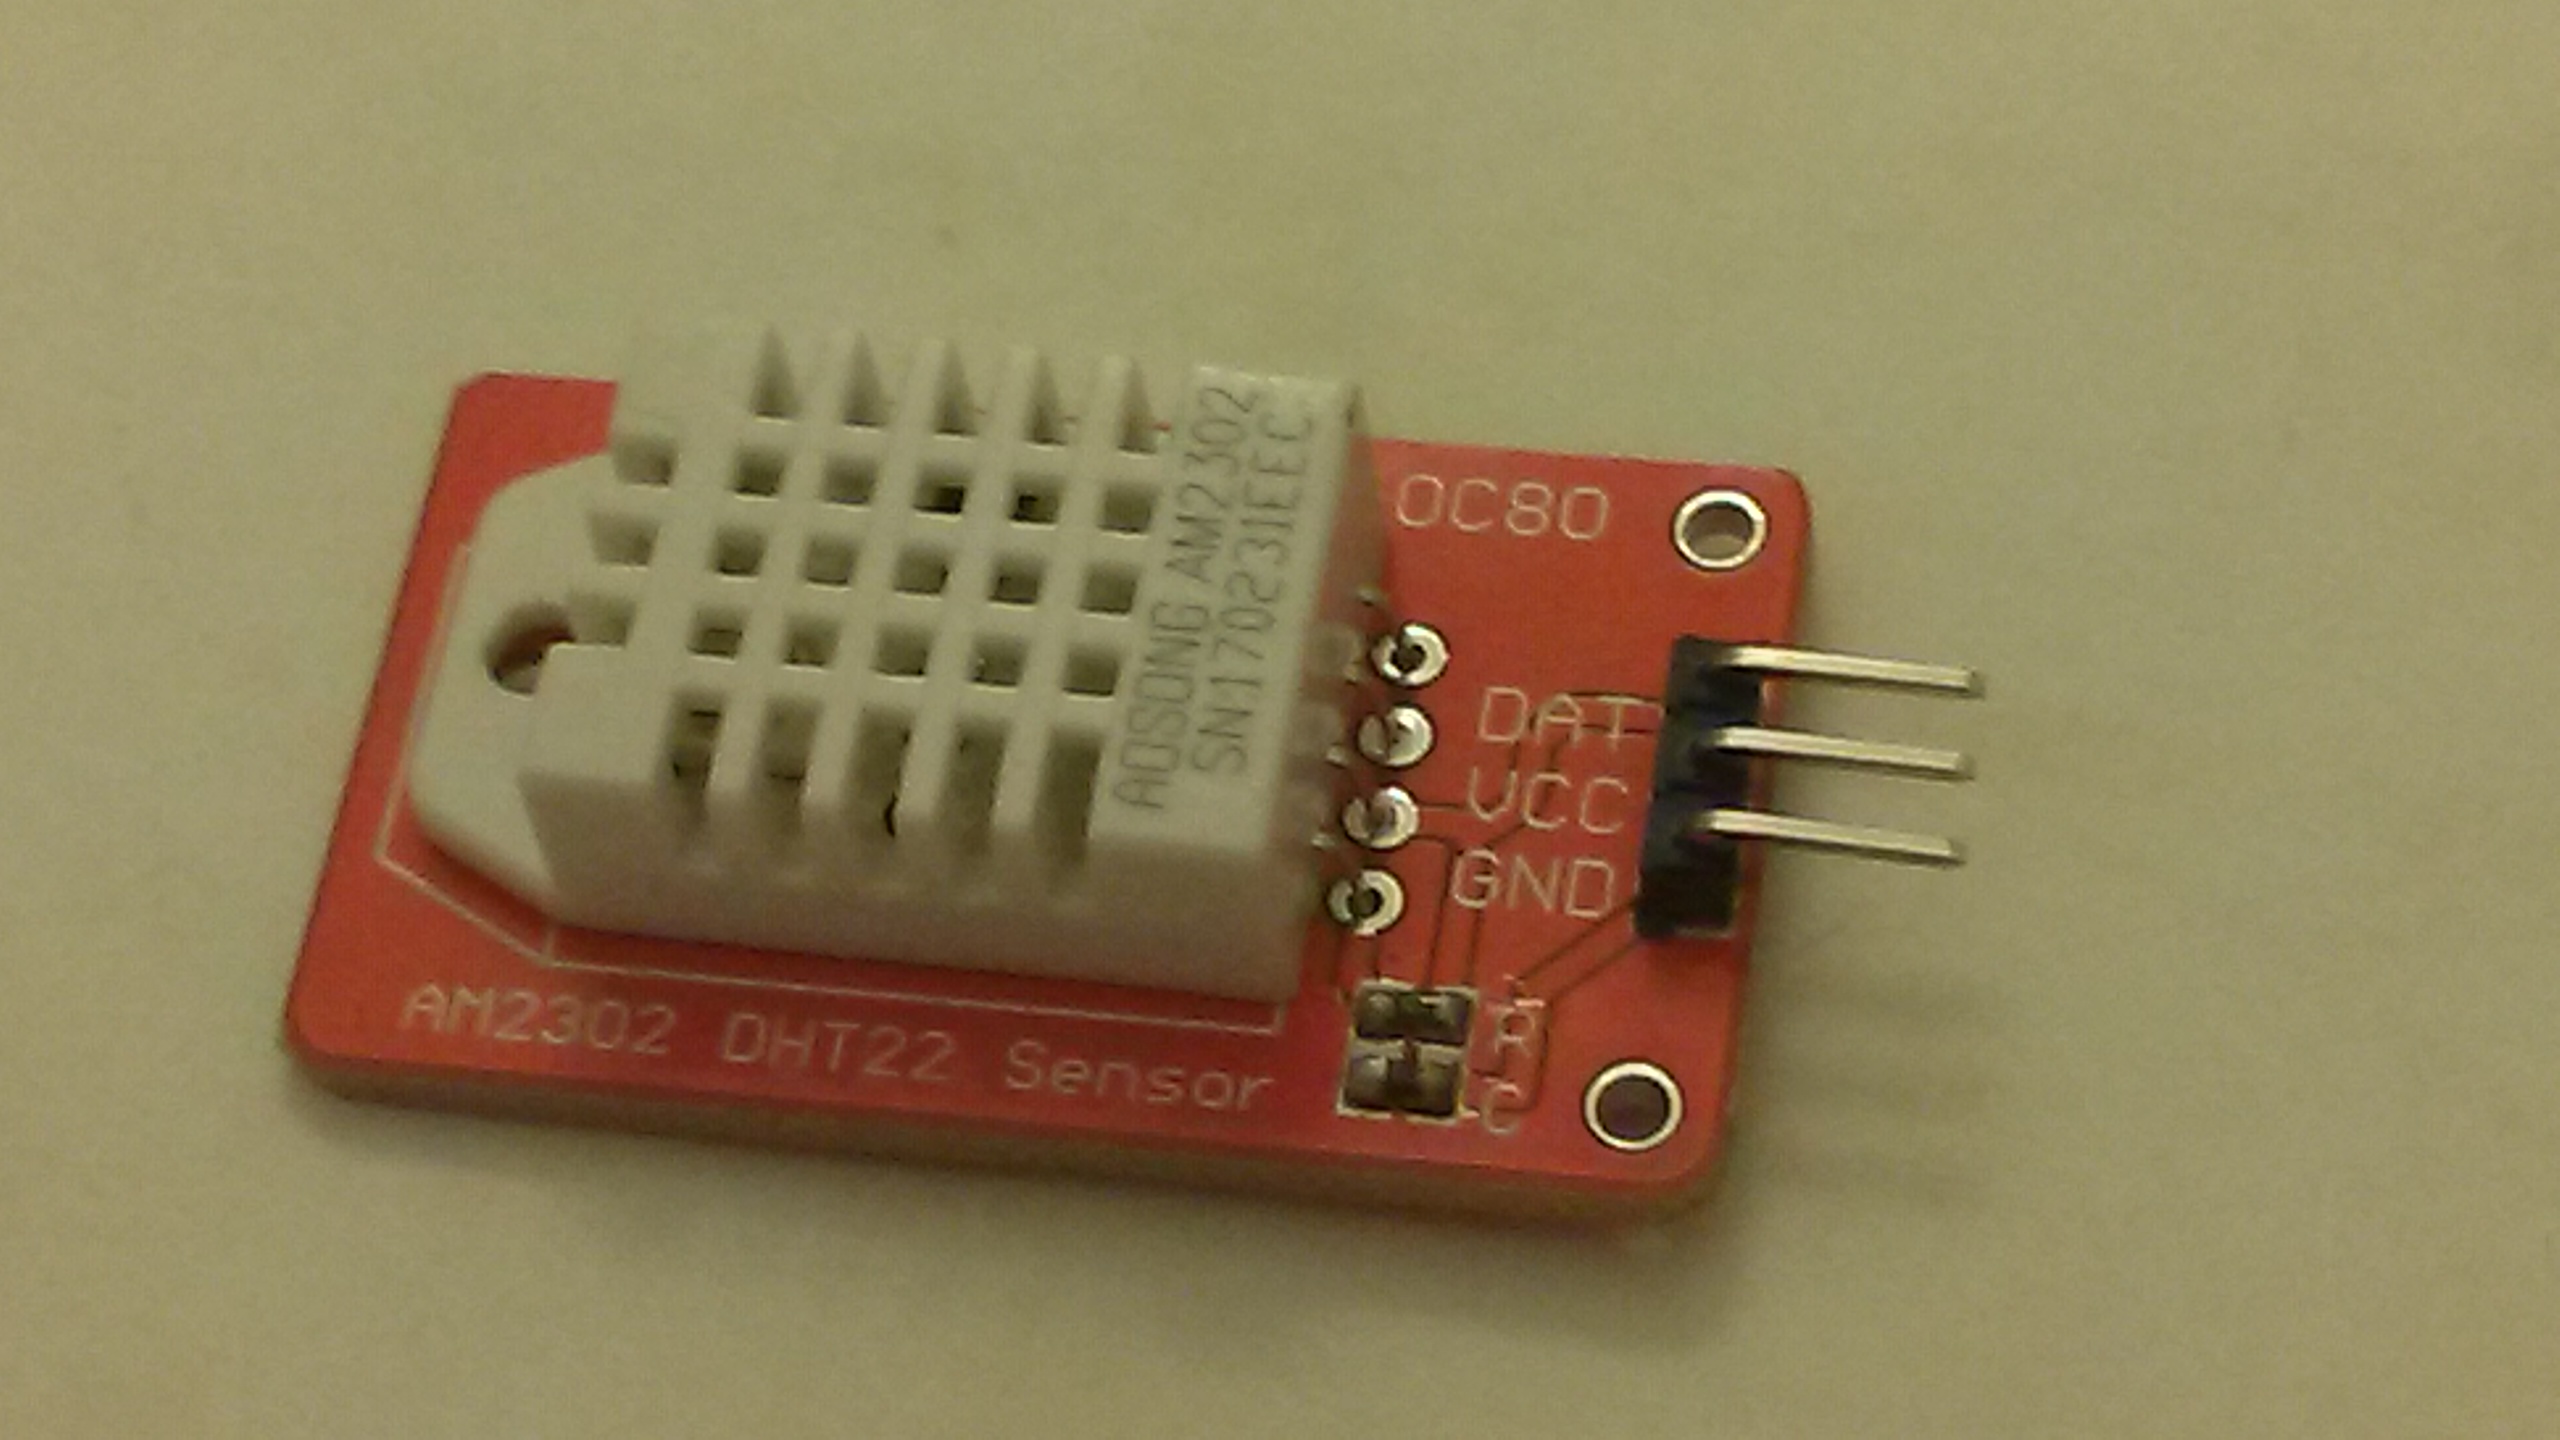
Since we want to build a smart fan, the first thing we need is a temperature sensor. We are going to use a DHT22 temperature and humidity sensor.

A DHT22 sensor. Photo by L293D, CC BY-SA 4.0, via Wikimedia Commons.

Wiring up the sensor is very simple. It has three wires, two for +3.3V (do not use +5V!) and GND and one for data.
If you use the ESP32 dev kit with the extension board and a breadboard, it will power the breadboard rails with +3.3V and +5V from the USB port. You can pull only ~100 mA without an external power supply, but it is enough for the DHT22, which only takes 1.5 mA while measuring and even less when idle.
We need to connect the middle wire to one of the many GPIO ports of the ESP32. We will choose GPIO 26, but you can use almost all GPIOs for this. Some GPIOs have special functions during boot, but GPIO26 does not.
Just to test the sensor, we will print out the sensor readings using tracing.
Running it
I (322812) smart_fan_esp32: DHT22: 26.9°C 36.7%
Troubleshooting:
Make sure you have +3.3V and GND wired up the right way. If not you will notice the sensor getting hot and have a few seconds to react before smoke comes out.
The DHT22 should work with the signal wire directly connected to GPIO 26. But if you get frequent timeouts you can try adding a pull up resistor of 3.3 kΩ that connects the GPIO to the +3.3V rail. Do not connect to the +5V rail!
Don't be afraid to get things wrong. Both the DHT22 and the ESP32 are pretty robust and forgiving for wiring mistakes if you correct them quickly!
Commit that adds sensor reading
At this point we have an iroh endpoint that supports our echo protocol, and local sensor readings. Obviously we want to read the sensor remotely as well.
To do that we are going to use irpc. If all we wanted to do is to read a single sensor, this would be overkill. But using irpc will make it easier to extend the protocol in the future.
Protocol crate
We will define the protocol in a separate crate smart-fan-proto, since it will be used by both the client and the ESP32 itself.
The first rpc call will be just reading the current sensor values. For now this is just a temperature and humidity, but in the future there might be more. So we are going to use a sensor state struct.
Here is the complete protocol definition:
/// The ALPN for the smart-fan sensor RPC protocol.
pub const SENSOR_ALPN: &[u8] = b"smart-fan/sensor/0";

/// A single sensor reading: temperature in °C, relative humidity in %.
#[derive(Debug, Clone, Copy, Serialize, Deserialize)]
pub struct Reading {
    pub temperature: f32,
    pub humidity: f32,
}

/// Request the most recent reading. Returns `None` until the first successful read.
#[derive(Debug, Serialize, Deserialize)]
pub struct GetLatest;

/// The sensor RPC service. `rpc_requests` generates the [`SensorMessage`] enum
/// (the channel-carrying form) consumed by the server handler.
#[rpc_requests(message = SensorMessage)]
#[derive(Debug, Serialize, Deserialize)]
pub enum SensorProtocol {
    #[rpc(tx = oneshot::Sender<Option<Reading>>)]
    GetLatest(GetLatest),
}
Server side
On the server side we have a struct that carries the current sensor state in a mutex:
/// iroh `ProtocolHandler` for the sensor RPC. Cloneable shared-state server: every
/// accepted connection reads requests and answers them from the latest reading.
#[derive(Debug, Clone)]
struct SensorServer {
    latest: Arc<Mutex<Option<Reading>>>,
}

impl ProtocolHandler for SensorServer {
    async fn accept(&self, conn: Connection) -> Result<(), AcceptError> {
        while let Some(msg) = read_request::<SensorProtocol>(&conn).await? {
            match msg {
                SensorMessage::GetLatest(msg) => {
                    let WithChannels { tx, .. } = msg;
                    let latest = *self.latest.lock().expect("poisoned");
                    tx.send(latest).await.ok();
                }
            }
        }
        conn.closed().await;
        Ok(())
    }
}
Client side
We will add more in the future, but for now the client side just does a single reading.
    // Wrap the QUIC connection as an irpc client and make one call.
    let client: Client<SensorProtocol> = Client::boxed(IrohRemoteConnection::new(conn));
    match client.rpc(GetLatest).await? {
        Some(r) => println!("Latest reading: {:.1}°C  {:.1}%", r.temperature, r.humidity),
        None => println!("No reading yet — the sensor hasn't produced one."),
    }
Can we still have something simple?
Maybe we still want a simple way to check that the endpoint is up. We could of course add a dummy endpoint to the irpc protocol, but we can also just keep supporting the echo protocol.
When using the router, you can combine as many protocols as you want!
let _router = Router::builder(endpoint)
    .accept(ECHO_ALPN, Echo)
    .accept(SENSOR_ALPN, SensorServer { latest })
    .spawn();
Commit that adds separate protocol crate
The CLI tool is nice for debugging, but what we really want is a GUI to show the temperature and, eventually, to control the fan. We could write a native GUI using dioxus that works on all major platforms. But who wants to install an app for this? So let's do a WASM GUI that runs in the browser.
I am not a javascript developer, so the WASM GUI is vibe coded. I just briefly checked it.
This first version is just a remote thermometer: paste a ticket from your device to see its temperature and humidity live over the relay.
To run the GUI, go into smart-fan-wasm and run npm run build; npm run serve, and then open the GUI on http://localhost:8080. But you don't have to! The GUI in this blog post is live, you can just paste your ticket and try it out.
Commit that adds WebAssembly GUI
At this point we have a remote accessible temperature and humidity meter. But we want a smart fan. So let's add an output. We are going to use a 5V desktop computer fan like, for example, the Noctua NF-A14-5V. This connects to the +5V and GND rail and has a single PWM control wire to switch or throttle the fan.
If you don't have such a fan, you can also just wire up a LED with a ~330 Ω resistor, or wire up a relay to control a household fan. It's more fun with a real fan though!
The actuator will be controlled using a simple logic: if the temperature is above some value, switch on the fan. We add a tiny bit of stickiness so the fan doesn't constantly toggle on and off.
fan_on = if fan_on {
    r.temperature >= s.threshold - FAN_HYSTERESIS
} else {
    r.temperature >= s.threshold
};
Then to set the actual pin:
let _ = if fan_on { fan.set_high() } else { fan.set_low() };
So far, so good.
Commit that adds output switching
At this point the major components are in place, and I stopped keeping the commit history clean.
During development, you could just change the protocol at will and make sure both client and server are up to date.
For a new production deployment, we would just change the ALPN to make it clear that this is a new protocol.
But what if we wanted the old remote thermometer GUI to still work? In that case we have to be careful to only add new methods to the RPC protocol, and leave the current methods in the same place in the enum with the same structures. Irpc is using postcard, and unlike json or protobuf, postcard makes zero attempts to be self-describing. Trying to read a different struct than what was written will just fail or produce weird results.
We can still evolve the protocol without changing ALPNs by adding new RPC methods at the end of the protocol enum. Then we can keep the ALPN, and old GUI versions will continue to work.
We have a much more principled approach for schema evolution, irpc-schema, but that will be the subject of another blog post.
So here is our new compatible schema enum:
#[rpc_requests(message = SensorMessage)]
#[derive(Debug, Serialize, Deserialize)]
pub enum SensorProtocol {
    // position 1: old RPC call to get temperature and humidity
    #[rpc(tx = oneshot::Sender<Option<Reading>>)]
    GetLatest(GetLatest),
    // position 2: new RPC call to get the full status including fan on/off
    #[rpc(tx = oneshot::Sender<Option<Status>>)]
    GetStatus(GetStatus),
}
The read-only GUI uses only GetStatus: it shows temperature, humidity, and whether the fan is running — but can't change anything, so it's safe to share publicly. It's the same page as the thermometer above, just talking to the newer protocol:
We now want the ability to set the threshold above which the fan starts to work. But we still want the ability to have the smart fan GUI hosted on a public website. We could rely on the endpoint id being secret, but that is not a good idea. If we use discovery, data is published for the endpoint id on dns.iroh.link. Also, we might want to retain the ability to share a read-only view of the fan state.
So let's extend the RPC protocol with a call to set the threshold, but add some authentication. We will use a simple secret that is baked into the code, then use it only in the new RPC call.
Added RPC methods
#[rpc_requests(message = SensorMessage)]
#[derive(Debug, Serialize, Deserialize)]
pub enum SensorProtocol {
    #[rpc(tx = oneshot::Sender<Option<Reading>>)]
    GetLatest(GetLatest),
    #[rpc(tx = oneshot::Sender<Option<Status>>)]
    GetStatus(GetStatus),
    #[rpc(tx = oneshot::Sender<SetThresholdResponse>)]
    SetThreshold(SetThreshold),
}

#[derive(Debug, Serialize, Deserialize)]
pub struct SetThreshold {
    pub secret: String,
    pub threshold: f32,
}

#[derive(Debug, Clone, Copy, PartialEq, Eq, Serialize, Deserialize)]
pub enum SetThresholdResponse {
    Ok,
    Unauthorized,
    OutOfRange,
}
GUI additions
For the new GUI, we just add a slider that shows the current threshold and can be used to change it.
Here it is, running live in the browser as WebAssembly. Paste a ticket from your device to connect, and optionally enter its FAN_API_SECRET to unlock the threshold slider:
So far we got a breadboard with an ESP32, a LED or fan, and a DHT22 sensor wired up. In many cases this is where it ends for such projects - you confirm that it works, then have it sit on the desk for a few days, then disassemble it because you need the parts for the next fun project or because you want to clean up.
In this case I wanted to assemble the parts into an usable widget. So I designed an enclosure to hold the fan and the breadboard.

The enclosure in Bambu Studio. Download the STL.
I didn't bother with using a soldered prototype board or even a custom PCB. Here is the end result:

The finished fan: a Noctua NF-A14 in the printed housing, with an opening for the DHT22.

The electronics — ESP32 on a breadboard, DHT22 sensor and fan connected — glued into the base.
I used an ESP32-S3 because I had a spare lying around, and also changed the GPIO pins to simplify wiring. With the ESP32-S3 you only get one side of the breadboard accessible.
I put a QR code on the outside that opens the readonly web UI, and a QR code inside that opens the web UI with the secret for controlling the temperature threshold.
The QR codes are blurred, but if you manage to recover the original image with some fancy deconvolution algorithm, you can control my fan until I change the endpoint id.
The complete code for this blog post can be found in iroh-smart-fan. The 3D-printable enclosure is available as case.stl.
There are a wide variety of input and output devices available that work out of the box with an ESP32. For input, there is everything from simple temperature and light sensors to precise CO2 and VOC sensors, accelerometers, GPS, microphones, even various cameras. The ESP32 can configure the GPIOs as analog-to-digital converters, so you can easily use simple analog sensors such as potentiometers, photoresistors or switches.
The ESP32 also comes with a powerful built-in sensor suite - since you can get a lot of details about the WiFi signal. WiFi scanners or even complete pose estimation can be done without any external sensors.
For output, there is everything from LEDs to displays. One nice trick is to drive a normal RC servo directly from the +5V bus and a GPIO configured as PWM output. If you want to drive larger loads, you can either use a transistor or mosfet for amplifying the GPIO output signal, or use a PWM compatible solid state relay to drive any household appliance (at your own risk!).
I was never much of an electronics expert, but wiring stuff up to an ESP32 is like lego, it is very simple, and the ESP32 is also very forgiving of small wiring mistakes.
If you use the long tickets and the local LAN, then yes. If you use existing relays, you do have a small component in the cloud. But it is a completely application independent, open source, commodity component. You can use our public relays to play around, our hosted relays for a production deployment, or even self host if you don't mind the complexity of operating relays in multiple regions and don't dread the 3AM phone call.
If you have a special requirement for a commercial project, talk to us.
To get started, take a look at our docs, dive directly into the code, or chat with us in our discord channel.