This post is also available over on get-arpa-domain.0.4.1.0.9.0.f.1.0.7.4.0.1.0.0.2.ip6.arpa (opens in a new tab)!
On the internet, .arpa is the top level domain reserved for critical internet infrastructure. It isn’t open to public registration, so you can’t own mysite.arpa sadly. However, this isn’t the only way to reserve some real-estate on .arpa - there are many different services that you can abuse to get your own DNS records, and hence your own website.
I first learned about this through a blog post explaining e164.arpa (opens in a new tab), an old scheme where you could query information about phone numbers using DNS. If you’re German or Czech, you can sign up and control the DNS records that correspond to your phone number!
For the rest of the world, our phone numbers aren’t open to registration, so that isn’t an option. Instead, we can use a similar scheme under ip6.arpa. This is reserved for “reverse DNS lookups”, where you can turn IPv6 addresses into domain names, instead of the other way around. However, nothing in the specification stops us from using it for other purposes, so let’s do so!
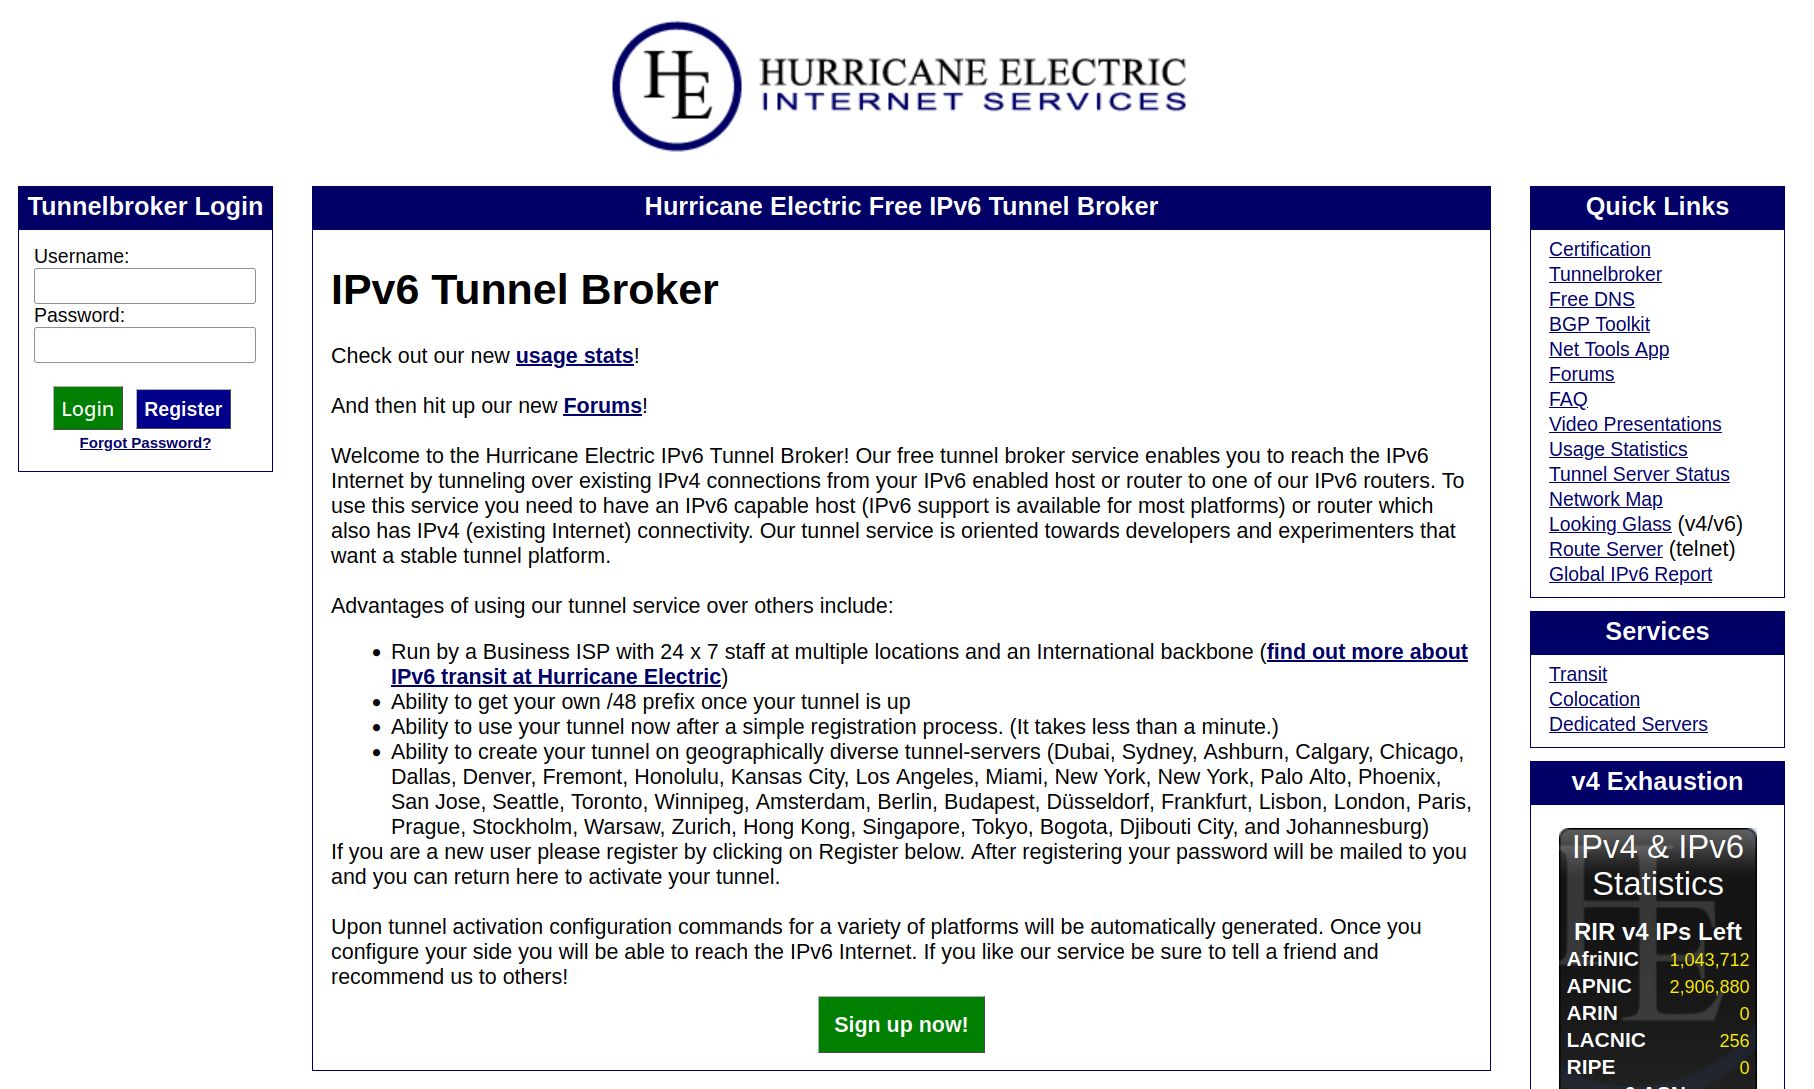
Hurricane Electric offers really simple registration for an IPv6 address and its ip6.arpa records through tunnelbroker.net, so let’s use them. Their site is a bit of a relic, but it is fully functional.

Sign up for a new account, feel free to provide fake information as it doesn’t verify any of it. Verify your email, and then in the left sidebar select “Create Regular Tunnel”.

It will ask for an IPv4 endpoint, though for our goal it doesn’t matter which address we choose. The IP needs to respond to ICMP Echoes (a.k.a. pings), but there’s no verification that you control the provided IPv4 address. Just use ping -4 domainname.com on a few websites until you find an IPv4 address that it will accept. It seems most sites that are behind CDNs don’t work, so try older sites first. Here I pinged news.ycombinator.com and received the ip address 209.216.230.207.

This seemed to pass Hurricane Electric’s form validation, so that’s all that matters. It also asks you to select a Tunnel Server, but similarly this doesn’t matter for our purposes - any will do.

Once you’ve created a tunnel, take note of the “Routed IPv6 Prefix”. Here mine is 2001:470:1f09:140::/64, but the only part we need is 2001:470:1f09:140 before the trailing colons.

Pad each section with zeroes to get four groups of four characters: 2001:0470:1f09:0140.
Then place a dot between each character: 2.0.0.1.0.4.7.0.1.f.0.9.0.1.4.0.
Finally, reverse the characters and append .ip6.arpa to get your own domain name: 0.4.1.0.9.0.f.1.0.7.4.0.1.0.0.2.ip6.arpa!
Next, we need to set up DNS records for the domain. When I last tried this, Cloudflare didn’t seem to accept the domain, but deSEC handled it perfectly, so that is what we’ll be using. Sign up for a deSEC account and provide the .ip6.arpa address you calculated from earlier.

Once added, return to Tunnelbroker and change your rDNS delegations to that of deSEC.

We have a domain, we have DNS, so the very last step is a web host. Out of the options, Surge is very straightforward and doesn’t enforce HTTPS. This is handy because many (though not all) certificate authorities refuse to serve .arpa domains, hence getting HTTPS working can be quite challenging. It isn’t impossible, though, but it is beyond the scope of this guide.
Create a new directory and an index.html file. You can put whatever content you’d like inside the index.html, I decided to put a bare-bones replica of this blog post (opens in a new tab).
Install npm or bun if you haven’t already, and run surge.
bunx surge . subdomain.domain.ip6.arpa
# or alternatively
npx surge . subdomain.domain.ip6.arpa
Here, “subdomain” is a subdomain of your choice, and “domain” is the ip6.arpa address you calculated earlier. If it asks, make a free account as part of signup. Make note of the address it gives near the end of its output.


Lastly, return to deSEC and create a CNAME record pointing to the surge.sh address.

Once DNS finishes propagating, you can now visit your domain and see your site! You now have a fully functional website running off a reserved infrastructure TLD.