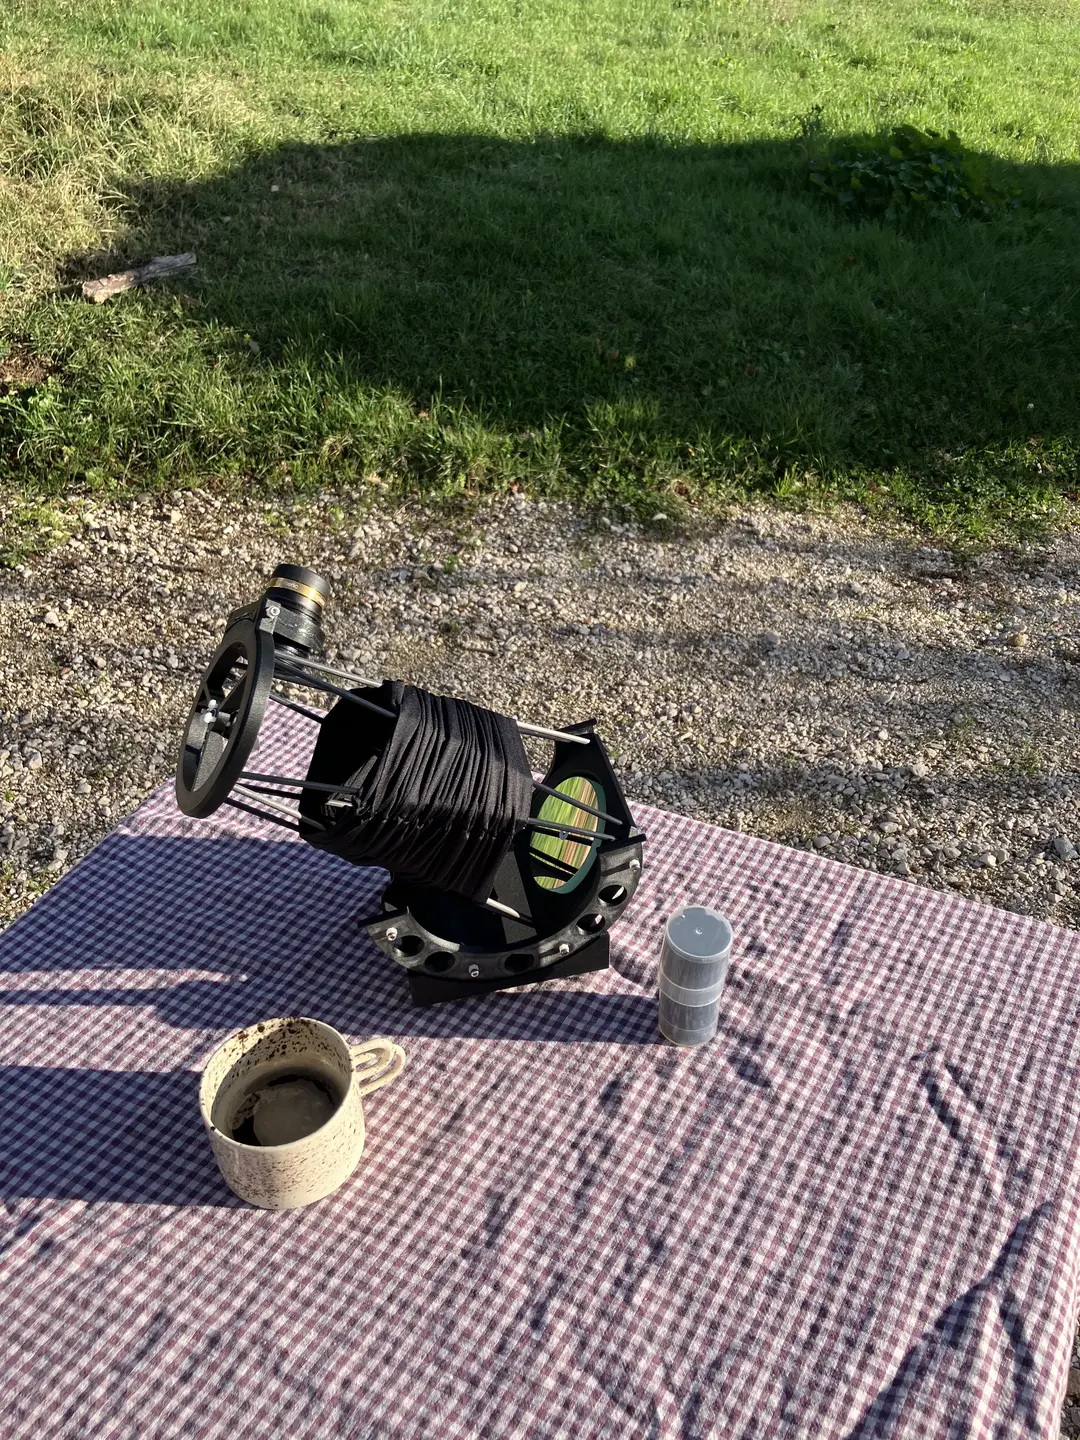

A “relaxation” project, mostly drawn on planes to and from Norway this month, where I had to travel to setup a digital art installation in Kristiansand with friends from the digital art collective Lab212. It has been drawn with one major constraint: it must fit in the inner pocket of my jacket (well, one specific jacket), except for the rods.
This is a 3D-printed dobsonian telescope built around a 76mm/300mm parabolic mirror kit. While there are plenty of mini-scope models on the internet, I wanted something that looked like a dobson that went a bit too hard through the clothes dryer, but without compromise on what matters:
- Balance
- Smooth movements
- Rigidity
- Collimatable
- Focusable eyepiece holder
- A minimum of style (entirely subjective)
Hardware
- PETG-CF filament
- 4mm carbon rods
- M3 screws and M3x4.5x4.5 heat-set inserts
- A spring
- Nylon screws to collimate both the primary and secondary mirrors
- 4 magnets for the secondary
- A bit of paraffin to lubricate the focuser
- A lycra light shroud that also helps with delaying dew forming on the mirrors
The focuser follows Analog Sky’s recipe: the tube that receives the eyepiece is also the movement itself, with a rounded thread that prints extremely smoothly with very little play. No additional hardware needed - the eyepiece is self-held by the flexion of plastic fins.
All the holes for the rods are straight, which forces them to arch, which “locks” the structure in place.
The alt/az movements use “teflon pads” (actually gray HDPE or UHMW for furniture feet) with rubber backing, scalped and glued.
Download the 3D files on Printables • Discussion on Astrosurf
If you build it, the real trick for ease of mounting is to chamfer the carbon rods with a 1mm chamfer at both ends and seal it with CA glue. See the chamfer pic in the gallery.
Optical tests
Sadly, the results aren’t great. We were used to very good l/6 or better recent buys from Aliexpress, but this one is very overcorrected. It was very smooth, with a rather good edge at the foucault, but is overcorrected by 70%. With the eyepiece I selected, putting it at 30x power, this does not show too much, and it retains its “real telescope” status. But this mirror is so small that I will not refigure it – the realuminizing costs would outweigh the entire project.
Edit as of dec. 11th : of course I did not resist re-figuring it. It now hovers around 0.9 strehl. The star test with the selected eyepiece shows nice symmetric defocused stars and I can now cound individual spider web strands and distinguish the dew droplets it carries, on a nearby electrical pole, whereas I did not even see the spider web with the mirror as it was from the factory. I still need to do a proper “showable” Bath report with enough interferograms, my last test was 4 interferograms and carries a ton of noise. So it is great but I now have to get it coated, and working a mirror this small did raise a few challenges in handling it.
All test pictures below are before refiguring