The goal of this tutorial is to set up a simple REST API that allows you to send XMPP messages to an existing XMPP account. This can be easily integrated into monitoring solutions or other scripts that send out status information.
While there are command-line tools like go-sendxmpp that send messages by connecting to an XMPP server directly, this guide is specifically about providing an HTTP interface.
curl "https://ntfy.stdmsg.tech:5281/msg/[email protected]" \
  -u [email protected]:secret \
  -H "Content-Type: text/plain" \
  -d "Your flat white is done"
Hint: If you don’t have an XMPP account to receive these messages, you can create one on a public server from within Conversations (F-Droid, Google Play) or another XMPP client of your choosing.
Requirements
This guide assumes you have a relatively clean install of Debian 13. However, using other Linux distributions or integrating this into an install with existing services will probably work as well. The only other requirement is that you have a domain. Any subdomain over which you control the A record will do. In this tutorial, we will use the domain ntfy.stdmsg.tech (be sure to replace it with your own).
Setup
Installation
We are installing Prosody IM, the community modules and certbot (to get certificates).
apt install prosody prosody-modules lua-unbound liblua5.4-dev certbot
The Prosody community module we need doesn’t come with the prosody-modules Debian package. We are going to use the Prosody plugin installer instead.
prosodyctl install --server=https://modules.prosody.im/rocks/ mod_post_msg
Configuration
We will be creating a mininal configuration file for Prosody, usually a regular XMPP server, that has everything disabled, except for the stuff that is required to provide the REST API.
Replace /etc/prosody/prosody.cfg.lua with this configuration:
pidfile = "/var/run/prosody/prosody.pid"

modules_enabled = {
	"tls";
	"dialback";
	"http";
	"admin_shell";
	"post_msg";
}
modules_disabled = {
	"c2s";
	"offline";
}

log = {
	info = "prosody.log";
	error = "prosody.err";
}

certificates = "certs"

VirtualHost "ntfy.stdmsg.tech"
Getting certificates
We are using certbot to retrieve Let’s Encrypt certificates. If you already have a certbot setup make sure to change the --standalone parameter to something more suitable.
certbot certonly --standalone  -d ntfy.stdmsg.tech
prosodyctl --root cert import /etc/letsencrypt/live/
This assumes you have the A record of your domain pointed to your server.
Check and first start
You can use prosodyctl check to check over the configuration file. Afterwards restart Prosody with the new configuration file.
systemctl restart prosody
You can use ss -ltnp to check if Prosody is running on port 5269 (XMPP S2S) and port 5281 (The HTTPS port used for the REST API).
Send your first message
Creating a user
prosodyctl adduser [email protected]
Enter a password of your choice when prompted. We pick “secret” in this example.
Using the REST API
curl "https://ntfy.stdmsg.tech:5281/msg/[email protected]" \
  -u [email protected]:secret \
  -H "Content-Type: text/plain" \
  -d "Your flat white is done"
The [email protected] (part of the path) is the recipient. The -u part is the user you’ve just created and its password. It’s the sender of the XMPP message.
You can create multiple users depending on how much seperation of concern you want.

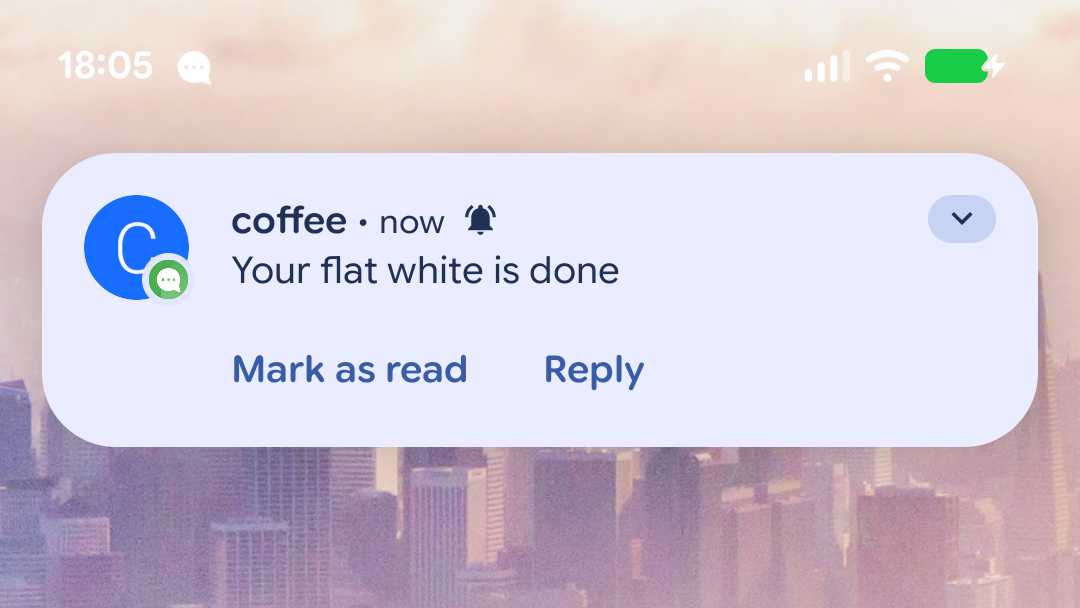
A notification on Android from the app Conversations that shows the message ‘Your flat white is done’ coming from the user ‘coffee’
Additional reading
The module we are using is called mod_post_msg. Its documentation describes how it can take JSON payloads, if this is more appropriate for your use case.
You can also configure the built-in HTTP server and/or put it behind a reverse proxy.
For a more permanent setup, you might want to look into setting up a certbot hook that reimports fresh certificates into Prosody.