Look at this orange:

Now look at this orange:

It’s the same orange.
But, look how much more orange it looks with the red mesh on top of it:

If you buy bags of oranges (at least at many places in the US), they frequently come in this red mesh bag. This bag makes the oranges look more orange. Oranger.
Here’s what that looks like at a local grocery store:

Ripe oranges are usually oranger, so this bag makes the oranges look better than they may actually be. Maybe the secret is to never buy bagged fruit, since it’s harder to evaluate the quality of each orange.
This made me wonder — how does the bag change how we perceive the color?
I thought this difference would be visible if we did some quick and tricky digital math: what if we had a picture of the orange with and without the bag under the same light and camera conditions, then checked the average pixel?
Here are the results from 11 different orange photos, with and without the mesh:
| Orange | Without bag | With bag | Avg. color without | Avg. color with |
|---|---|---|---|---|
1 |
 |
 |
||
2 |
 |
 |
||
3 |
 |
 |
||
4 |
 |
 |
||
5 |
 |
 |
||
6 |
 |
 |
||
7 |
 |
 |
||
8 |
 |
 |
||
9 |
 |
 |
||
10 |
 |
 |
||
11 |
 |
 |
There are a few interesting things here. First, the average pixel is not what I would expect it to be at all, to be honest. I even ran the average pixel calculation a second time with more advanced calculations, including some orange-only-masking to avoid non-orange colors, but I got similar results. They’re all much more brown than my eyes would assume when I look at the images.
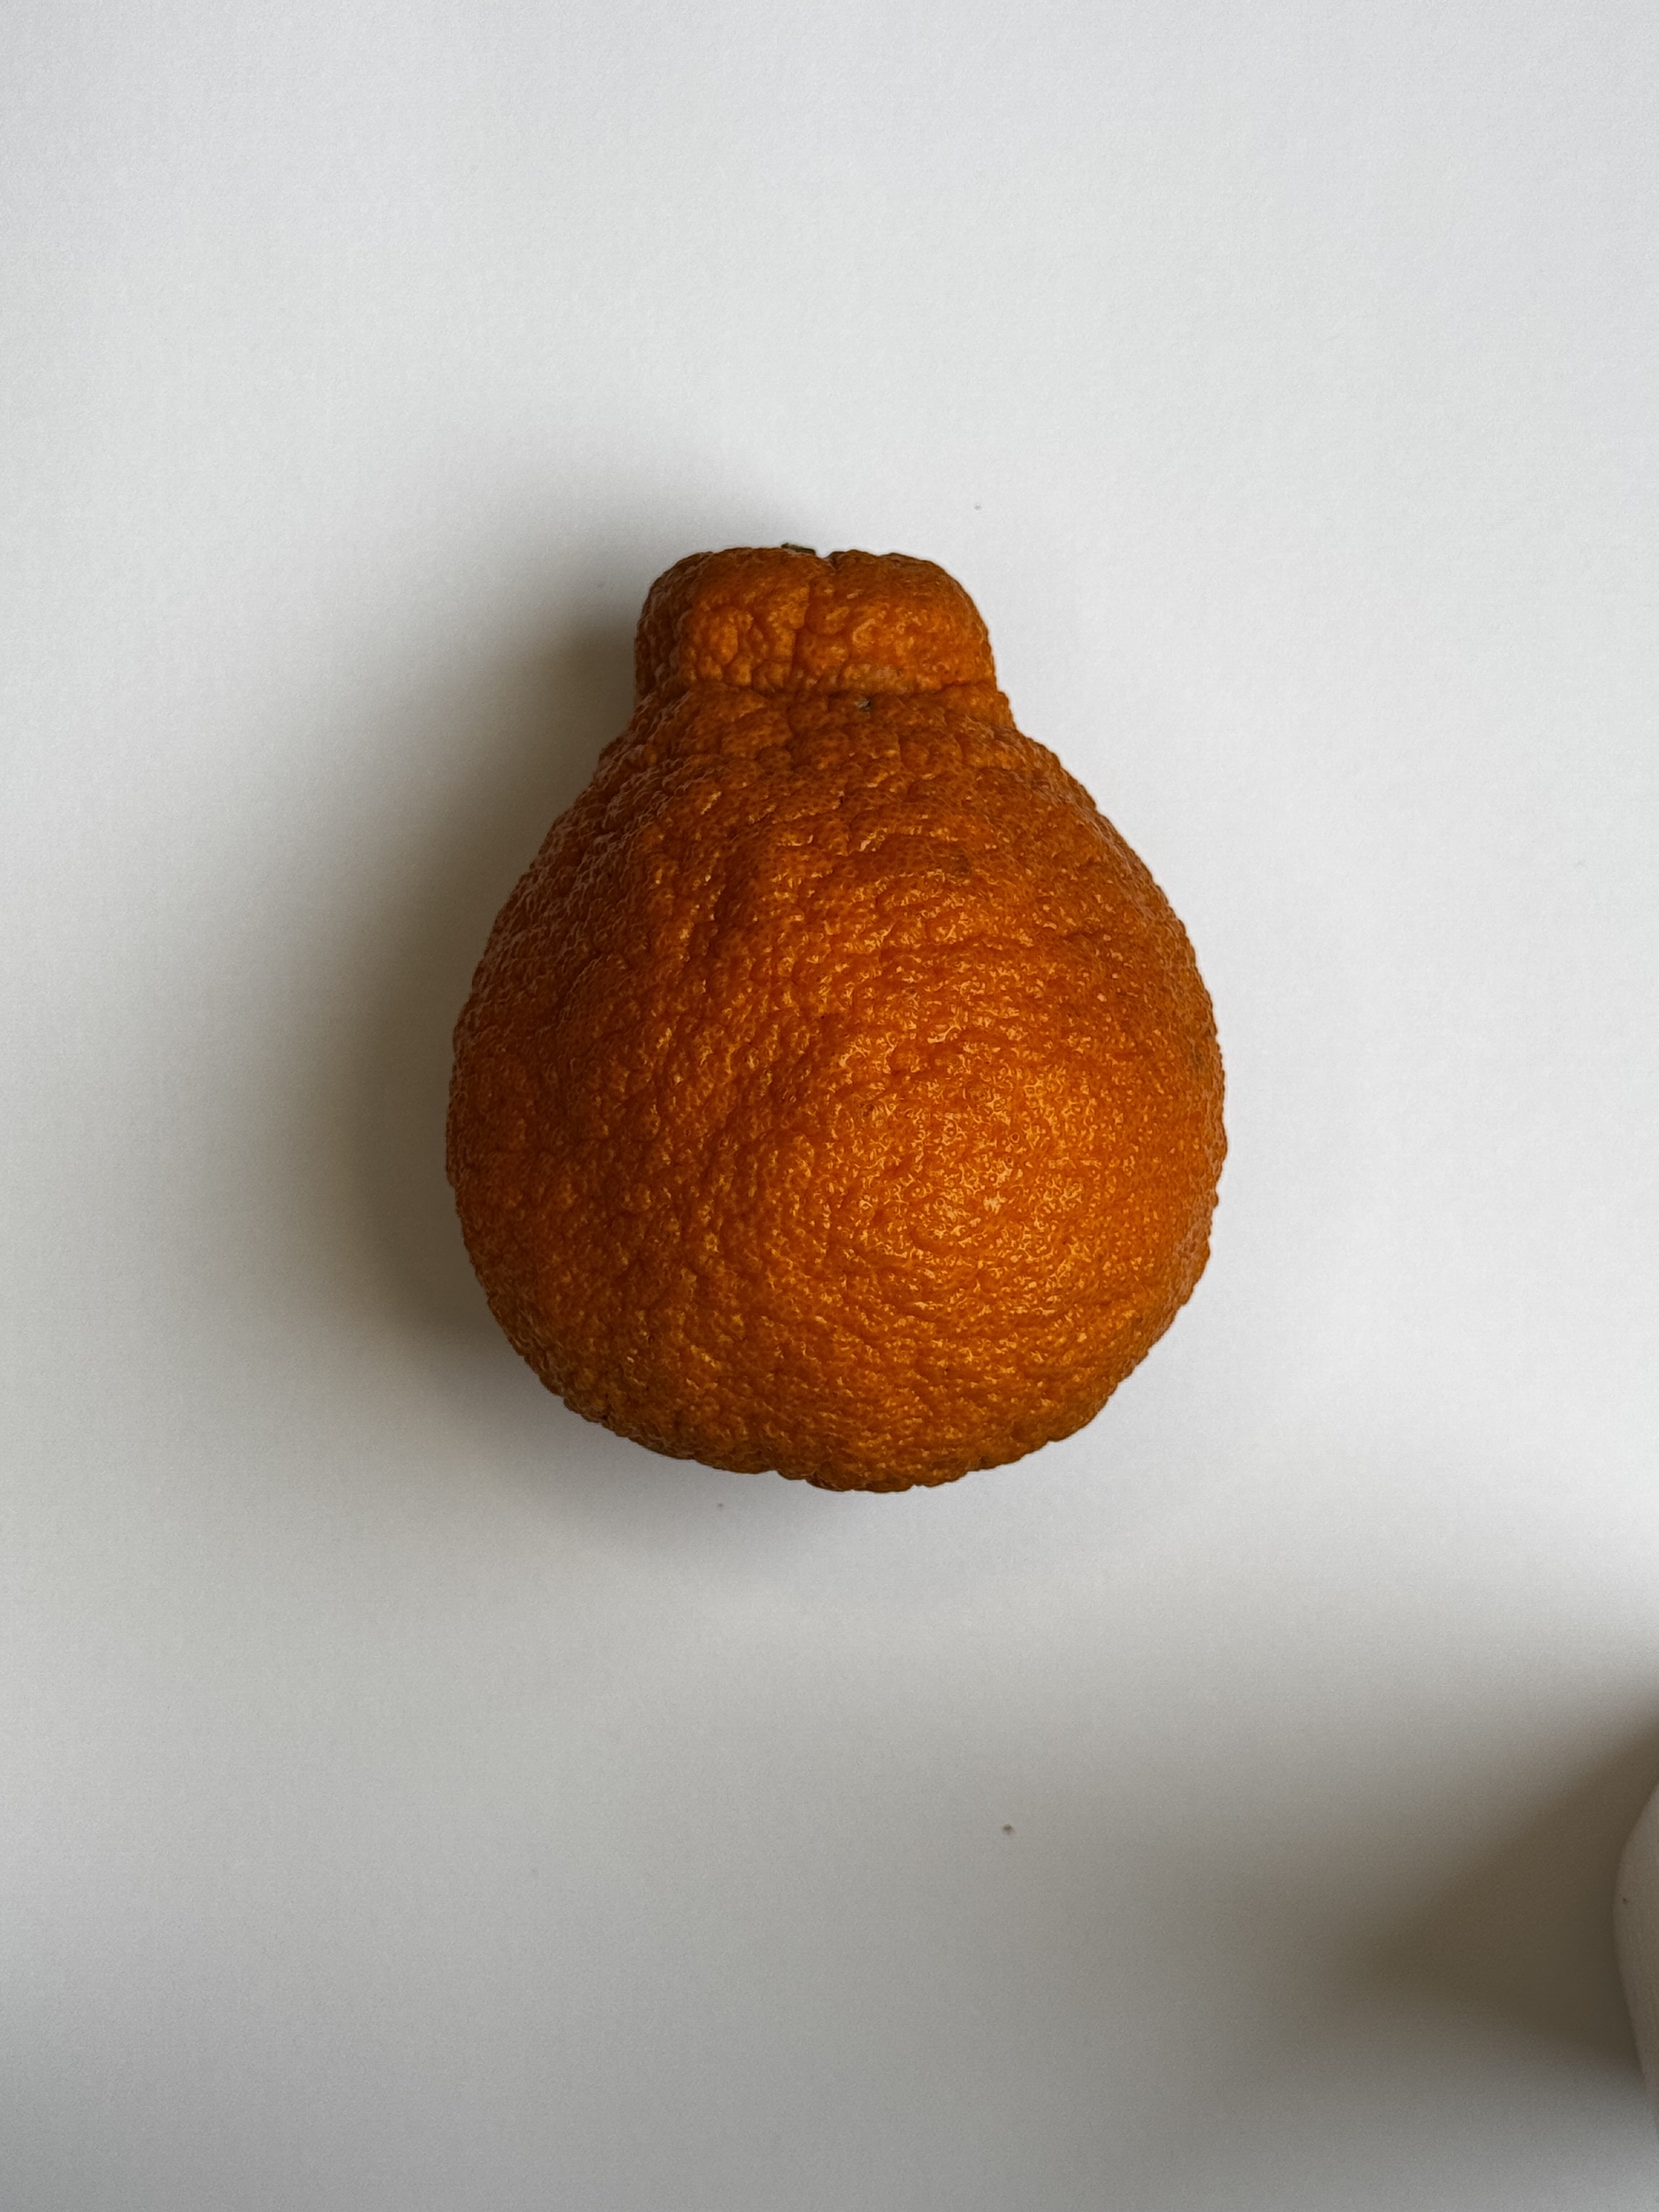
Weirdly, that kind of makes sense when you look at each image closely. Here’s a big trypophobia warning, but you can open the spoiler below.
Click to see a close up photo of orange skin, which is kinda weird to be honest
Look how much brown there really is when you look closely! Also, kind of gross.
Kinda weird, right? This kind of makes sense though — this whole thing was motivated by the feeling that our eyes are tricked by colors, so it makes sense that our eyes are much less analytical than my computer averaging over all of the pixels.
The other interesting thing is that the addition of the red mesh clearly adds a warmth to each of the average colors. We can see a clear shift, even for those showing up as brown.
We see the RGB shift mostly in the green, interestingly enough. The average change to RGB values is around (-15, -20, -4) with the bag, with some larger shifts in the green. That’s a little hard to visualize, but that’s the difference between this first pale yellow and the second, more robust orange:
OK, maybe not exactly a robust orange, and not exactly more appetizing, but again, I think our mind is probably playing more tricks on us. There’s also probably a better way to think about color shifts that I’m not familiar with, but even as a basic measure, we can see this clear shift with the average pixels side by side.
Of course, as expected, eyes are incredibly complex, and the answer is much more nuanced than the average pixel value: our eyes adapt to the environment, remember the color of things, and change dynamically.
If you’re interested in a rabbit hole, I’d recommend this NASA Research Center Color Usage Research Lab article on simultaneous and successive contrast and these this Wikipedia article on chromatic adaptation, color appearance model, and color constancy. It obviously extends well past a simple average pixel color!
Given that the trick is happening in our eyes, I think a better experiment would be a human-focused experiment for how we perceive the average color. Maybe we could have two groups, with bag and without, and we show them the cropped photos and have them pick the average (or most dominant?) color they perceive in the photo. We’d then be able to compare across the groups to confirm that the with-bag photos skew redder.
Maybe another day. I think I’ve already been staring at pictures of oranges for too long.
Anyways, here’s how I set this up.
 The experimental setup, with the author’s attentive assistant
I took 11 different photos of various oranges in the same position, with and without the red mesh, and cropped the same section of each photo.
I found the pixel locations of the square I wanted, then I translated those coordinates into specific offsets for a
sips command (Scriptable Image Processing System), which I learned about today. It made this programmatic cropping
very easy. For example, cropping two photos of Orange 1 in the same position, with and without mesh, as two files,
orange-1-with.jpeg and orange-1-without.jpeg:
for f in orange-1*.jpeg;
  do sips -c 788 740 --cropOffset 1519 1083 "$f";
done
This let me go from these two photos:


To these two photos
Assuming I put the mesh on without disturbing the orange, this meant that we would be doing an exact comparison between the two.
After I did this for all of the photos, with and without mesh, I then used magick to calculate the average pixel
value:
$ for f in *-cropped.jpeg;
>   do   echo -n "$f: ";
>   magick "$f" -resize 1x1 txt:- | grep -o '#[A-Fa-f0-9]\{6\}';
> done
orange-1-with-cropped.jpeg: #B9310A
orange-1-without-cropped.jpeg: #D0530A
...
Pretty neat!
Once I found that everything was showing up a lot more brown, I also experimented with a basic Python script that leveraged OpenCV. This script creates a mask for each image that excludes non-orange-ish pixels, defined by a range that I define. It can then take the average over just the orange pixels that fall outside of the mask.
for file in files:
    image = cv2.imread(file)

    # Convert to HSV color space (better for color detection)
    hsv = cv2.cvtColor(image, cv2.COLOR_BGR2HSV)

    # Define the range for orange in HSV. This took some tinkering to get the right values.
    lower_orange = np.array([3, 150, 150])
    upper_orange = np.array([20, 255, 255])

    # Mask the image to get only the orange parts.
    mask = cv2.inRange(hsv, lower_orange, upper_orange)
    orange_pixels = cv2.bitwise_and(image, image, mask=mask)

    # For debugging, I saved the binary mask to visualize them.
    mask_filename = os.path.join(output_mask_dir, os.path.basename(file).replace(".jpeg", "_mask.png"))
    cv2.imwrite(mask_filename, mask)

    # I also saved just the orange parts to visualize it.
    orange_only_filename = os.path.join(output_orange_only_dir, os.path.basename(file).replace(".jpeg", "_orange.png"))
    cv2.imwrite(orange_only_filename, orange_pixels)

    # Now, take the mean of the orange pixels with the mask, which means we're (hopefully) ignoring all of the browner
    # pixels when calculating the mean.
    bgr_avg = cv2.mean(orange_pixels, mask=mask)[:3]
    # Then, translate to RGB (and HSV for debugging).
    rgb_avg = tuple(reversed(bgr_avg))
    hsv_avg = cv2.cvtColor(np.uint8([[bgr_avg]]), cv2.COLOR_BGR2HSV)[0][0]

    print(file, "Average RGB orange color:", rgb_avg, "HSV:", hsv_avg)
This was pretty neat, because it meant that I could mask away any non-orange pixels (like very dark shadows). That ended up looking something like this, with the original photo, the mask, and just the orange parts that would be used for the average:


I must confess, I was cheating and trying to get the CSS boxes in the table above to look more orange. This isn’t how
our eyes work, and these ended up looking more muted anyways. Maybe because I messed something up in
the translation? The average pixel values ended up being very, very similar though, so I ended up just using the
magick ones in the table above. Fun to experiment with though!
This was also a great example of how much easier this experimentation is with LLMs — being able to easily discover tools for cropping or pixel evaluation meant that the time from idea to proof of concept was very, very short.
Even with these lackluster brown average pixels, I’m convinced that the red mesh bags make the oranges look oranger. It’s not big enough to call the FTC for, but it is an effective little trick, a small ripeness deception that we all have to live with.